> ## Documentation Index
> Fetch the complete documentation index at: https://www.propeldata.com/llms.txt
> Use this file to discover all available pages before exploring further.
# Fivetran setup guide
> Ingesting data using Fivetran.
This guide covers how to:
1. [Create a Propel Application](#1-create-a-propel-application).
2. [Create the destination in Fivetran](#2-create-the-fivetran-destination).
3. [Create your first Fivetran to Propel connector](#3-create-your-first-fivetran-to-propel-connector).
## Prerequisites
To connect Propel to Fivetran, you need the following:
* A [Propel account](https://console.propeldata.com/get-started).
* A Fivetran account with [permission to add destinations](https://fivetran.com/docs/using-fivetran/fivetran-dashboard/account-management/role-based-access-control).
* The Propel Application must have the `ADMIN` scope.
***
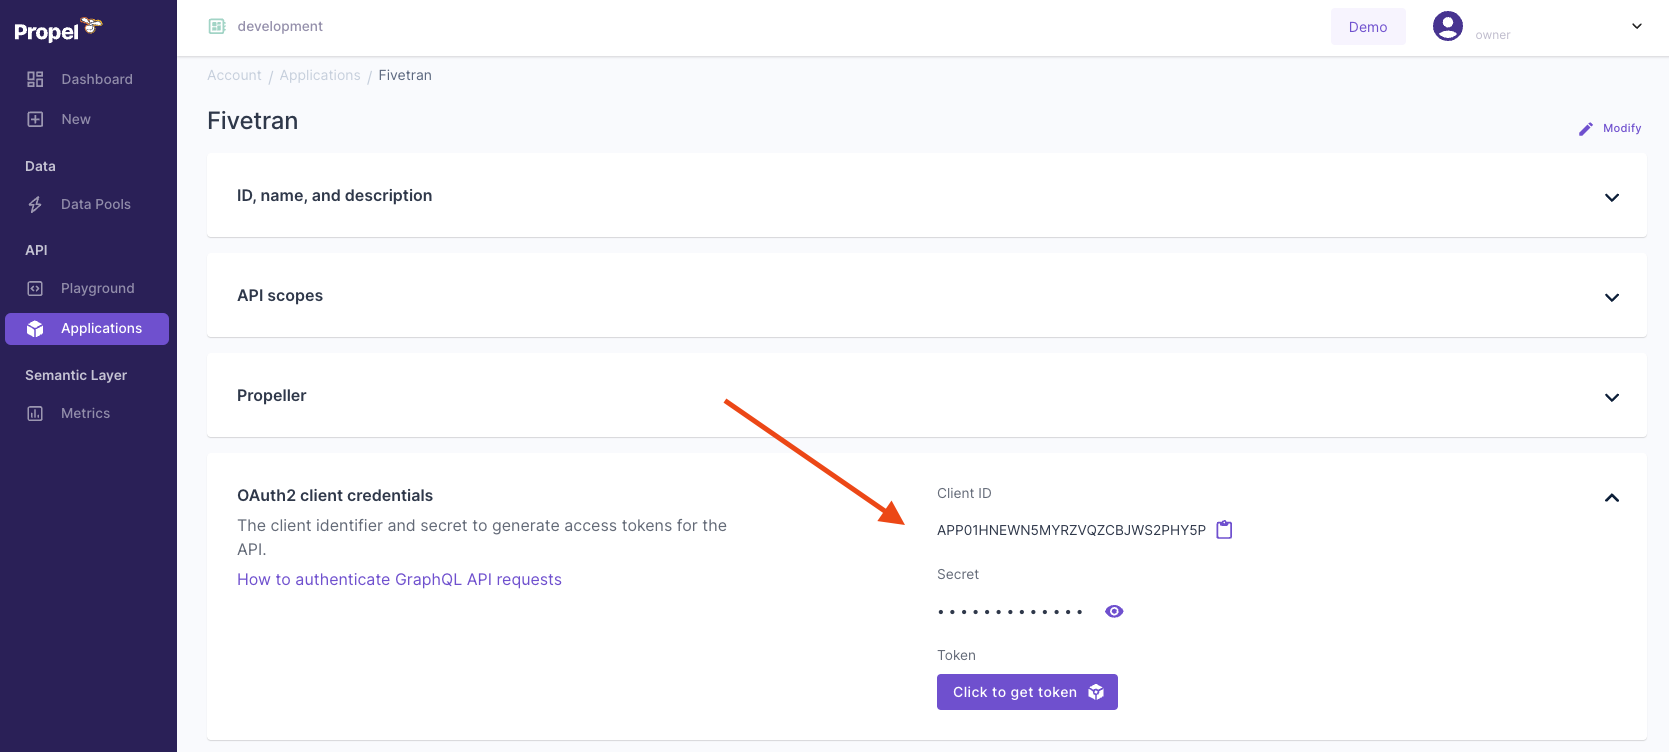
You must create a Propel Application. Propel Applications provide the API credentials, allowing the Fivetran destination to access the Propel API.
Follow the guide to [Create a Propel Application](/docs/applications#creating-an-application).
* Give it a **Unique Name**. For example, 'Fivetran Destination'.
* Provide a **Description**. For example, 'The Fivetran Destination app'.
* In the API scopes section, in the **Scopes** drop-down menu, select the `ADMIN` scope.
* Select a `P1_X_SMALL` Propeller. This is sufficient for Fivetran Applications.
Make a note of the Application ID and secret. You will need them to configure Fivetran.
 1. Log in to your Fivetran account.
2. Go to the [**"Destinations"**](https://fivetran.com/dashboard/destinations) page, and then click **"+ Add Destination"**.
3. Enter a **"Destination name"** of your choice.
4. Click **"Add"**.
5. Select **"Propel"** as the destination type.
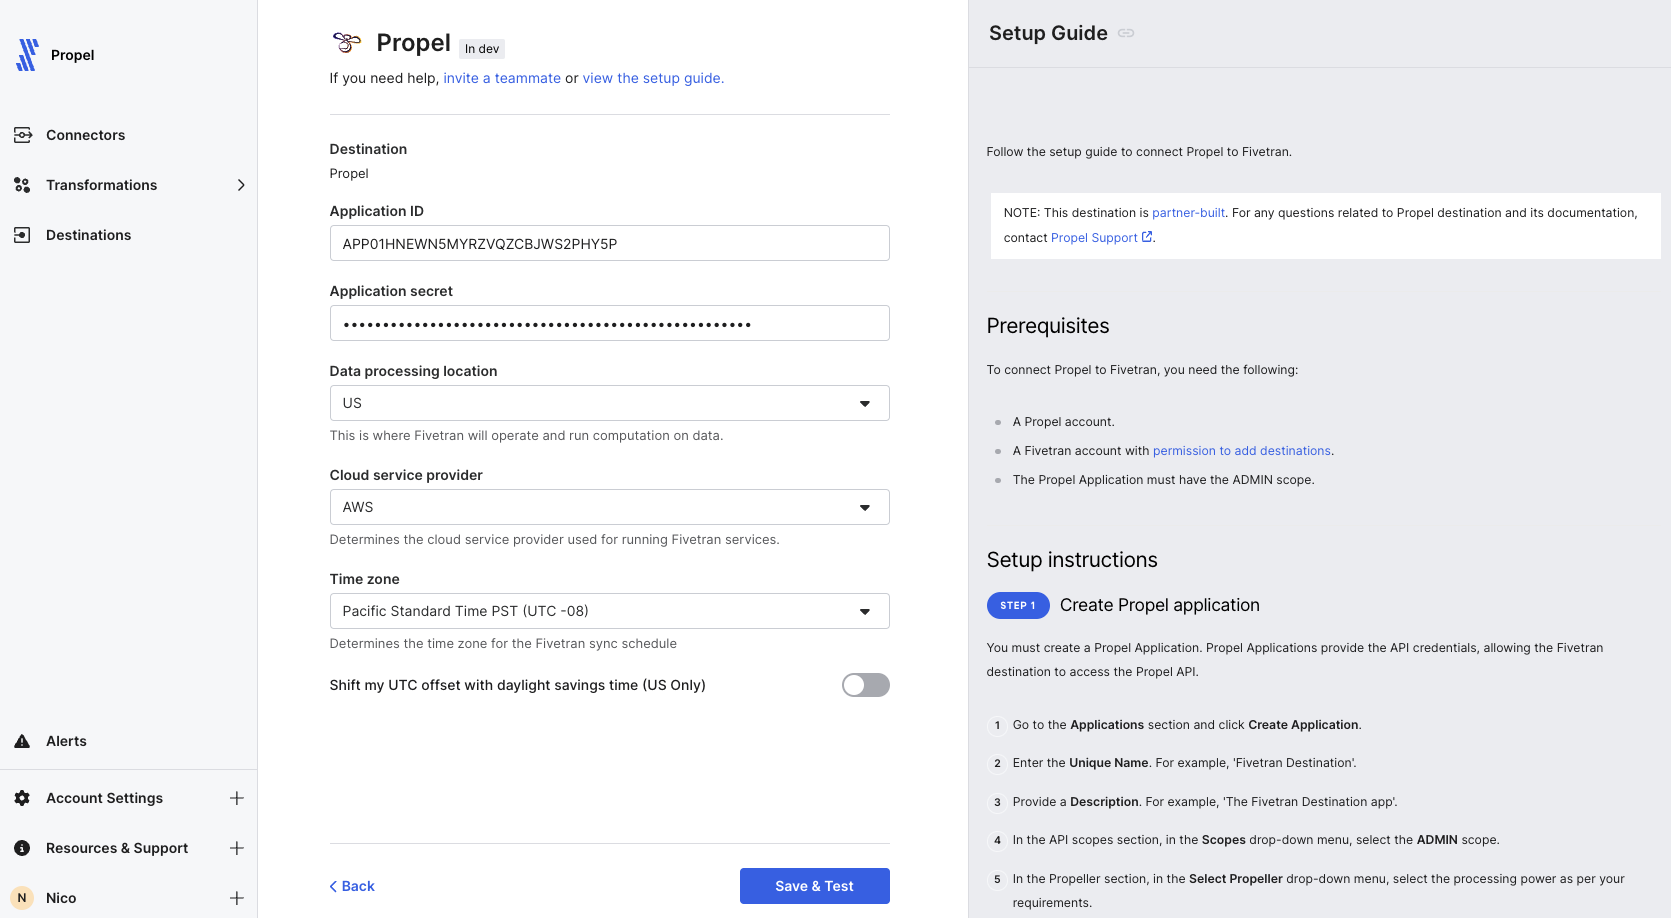
6. Enter the **"Application ID"** and **"Secret"** you found in [Step 1](#1-create-a-propel-application).
7. Choose the **"Data processing location"**.
8. Choose your **"Time zone"**.
9. Click **"Save & Test"**.
1. Log in to your Fivetran account.
2. Go to the [**"Destinations"**](https://fivetran.com/dashboard/destinations) page, and then click **"+ Add Destination"**.
3. Enter a **"Destination name"** of your choice.
4. Click **"Add"**.
5. Select **"Propel"** as the destination type.
6. Enter the **"Application ID"** and **"Secret"** you found in [Step 1](#1-create-a-propel-application).
7. Choose the **"Data processing location"**.
8. Choose your **"Time zone"**.
9. Click **"Save & Test"**.
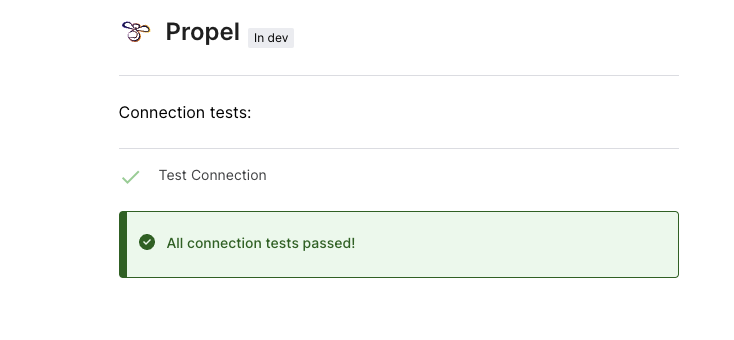
 Fivetran tests and validates the Propel connection. On successful completion of the setup test, you can sync your data using Fivetran connectors to the Propel destination.
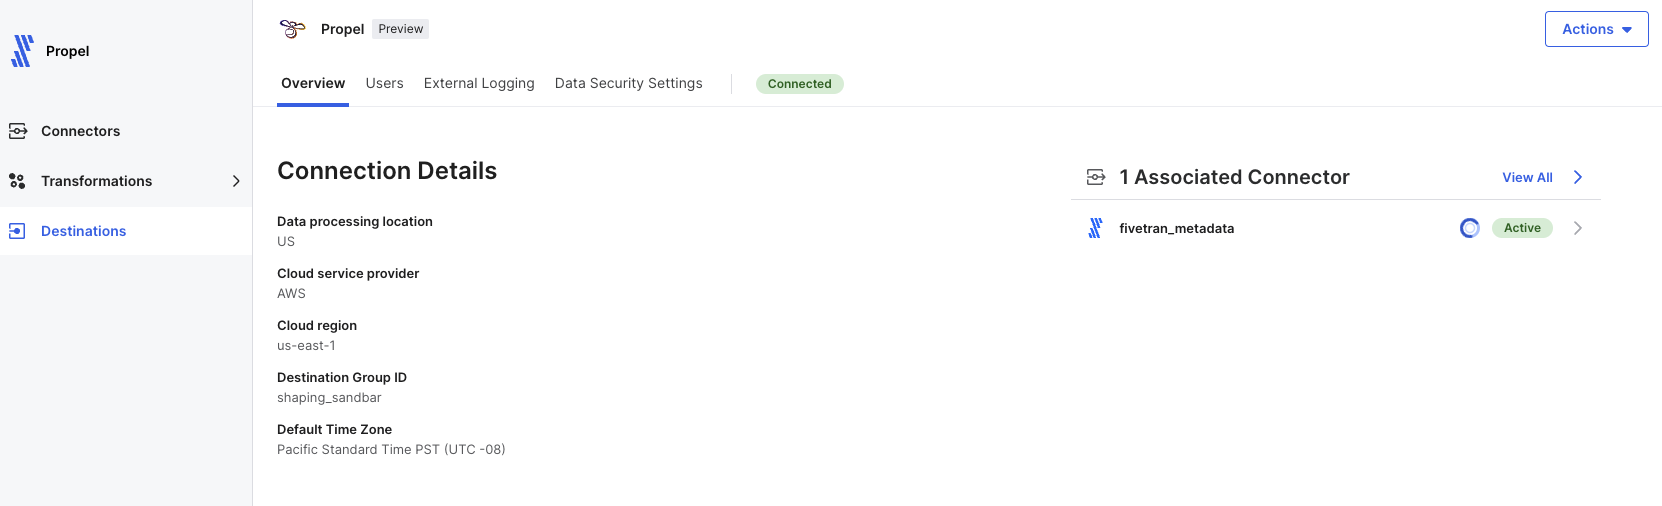
 Once the destination is set up, you can start adding connectors to sync data.
 ### Setup tests
Fivetran performs the following Propel connection test:
* The Connection test checks if we can connect to your Propel account through the API using the Application ID and secret you provided in the setup form.
1. Go to the [**"Connectors"**](https://fivetran.com/dashboard/connectors) page, and then click **+ Add connector**.
2. Select the **"Propel"** destination you just created.
3. Search for the source you need to sync. For example, **"Salesforce"**.
4. Enter source's configuration.
5. Click **"Save & Test"**.
Once set up, Fivetran will start syncing data from the source to the Propel destination.
### Setup tests
Fivetran performs the following Propel connection test:
* The Connection test checks if we can connect to your Propel account through the API using the Application ID and secret you provided in the setup form.
1. Go to the [**"Connectors"**](https://fivetran.com/dashboard/connectors) page, and then click **+ Add connector**.
2. Select the **"Propel"** destination you just created.
3. Search for the source you need to sync. For example, **"Salesforce"**.
4. Enter source's configuration.
5. Click **"Save & Test"**.
Once set up, Fivetran will start syncing data from the source to the Propel destination.