> ## Documentation Index
> Fetch the complete documentation index at: https://www.propeldata.com/llms.txt
> Use this file to discover all available pages before exploring further.
# Twilio Segment setup guide
> Ingesting events from Twilio Segment to Propel
This guide covers how to:
1. [Create a Segment Data Pool](#step-1-create-a-segment-data-pool)
2. [Create the Segment webhook destination](#step-2-create-the-segment-webhook-destination)
3. [Preview data in Propel](#step-3-preview-data-in-propel)
***
## Requirements
* You have a [Propel account](https://console.propeldata.com/get-started).
* You have a Segment account.
***
## Step 1: Create a Segment Data Pool
First, create a Segment Data Pool in Propel.
This will give you a dedicated HTTP endpoint for Segment to send events to.
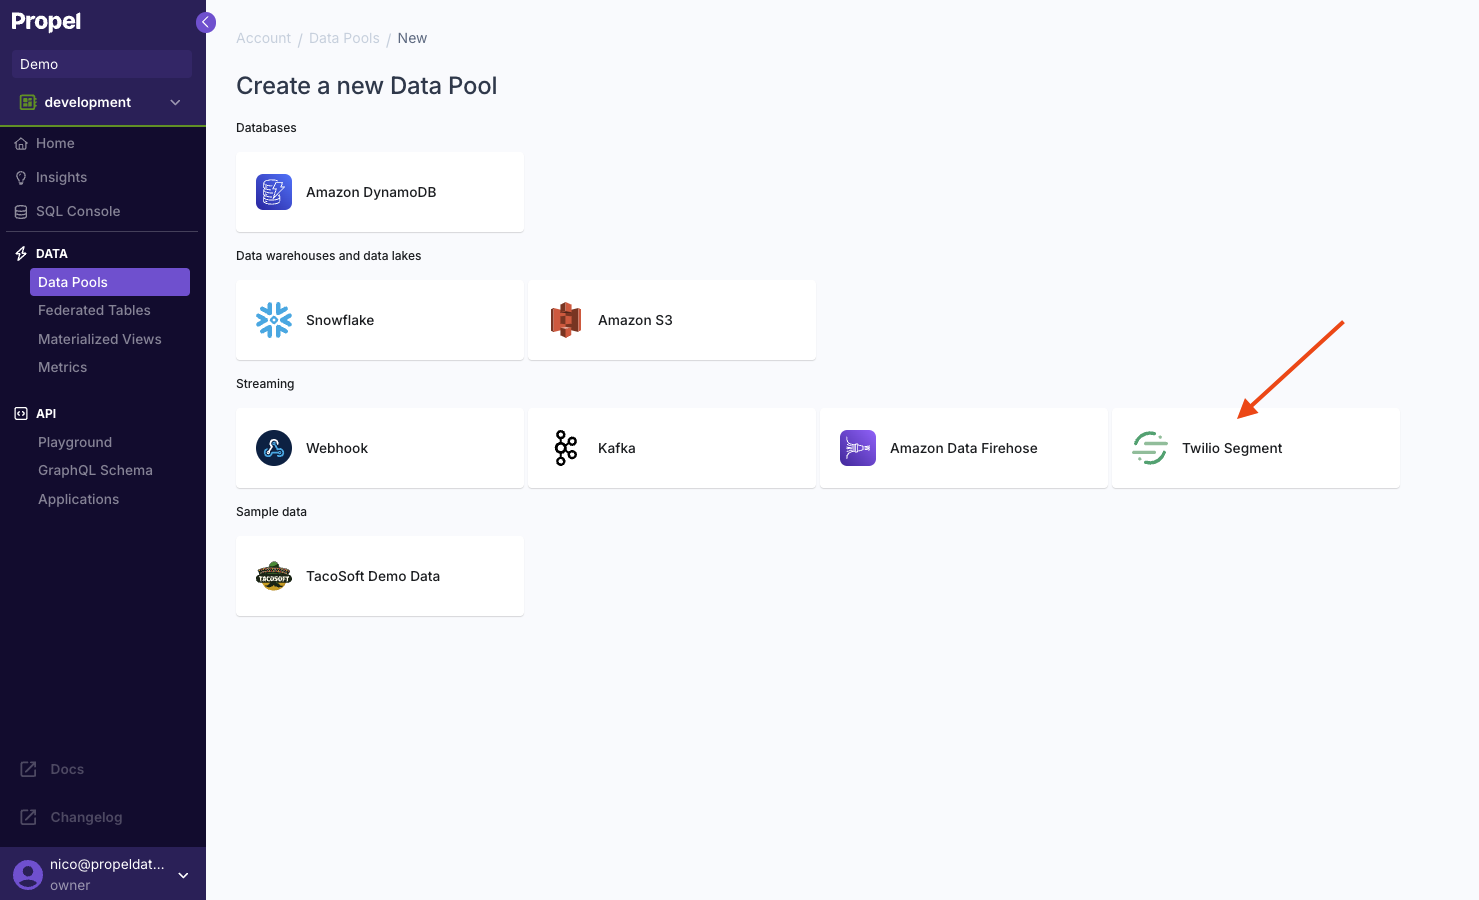
In the Console, click on **"Data Pools"** in the left-hand menu. Click on **"Create Data Pool"** and select **"Twilio Segment"**.
 The default schema contains two columns:
| Column | Type | Description |
| --------------------- | --------- | -------------------------------------------------- |
| `_propel_received_at` | TIMESTAMP | The timestamp when the event was collected in UTC. |
| `_propel_payload` | JSON | The value in the `records[i].data` of the event. |
On the right, you'll see a sample Segment event.
The default schema contains two columns:
| Column | Type | Description |
| --------------------- | --------- | -------------------------------------------------- |
| `_propel_received_at` | TIMESTAMP | The timestamp when the event was collected in UTC. |
| `_propel_payload` | JSON | The value in the `records[i].data` of the event. |
On the right, you'll see a sample Segment event.
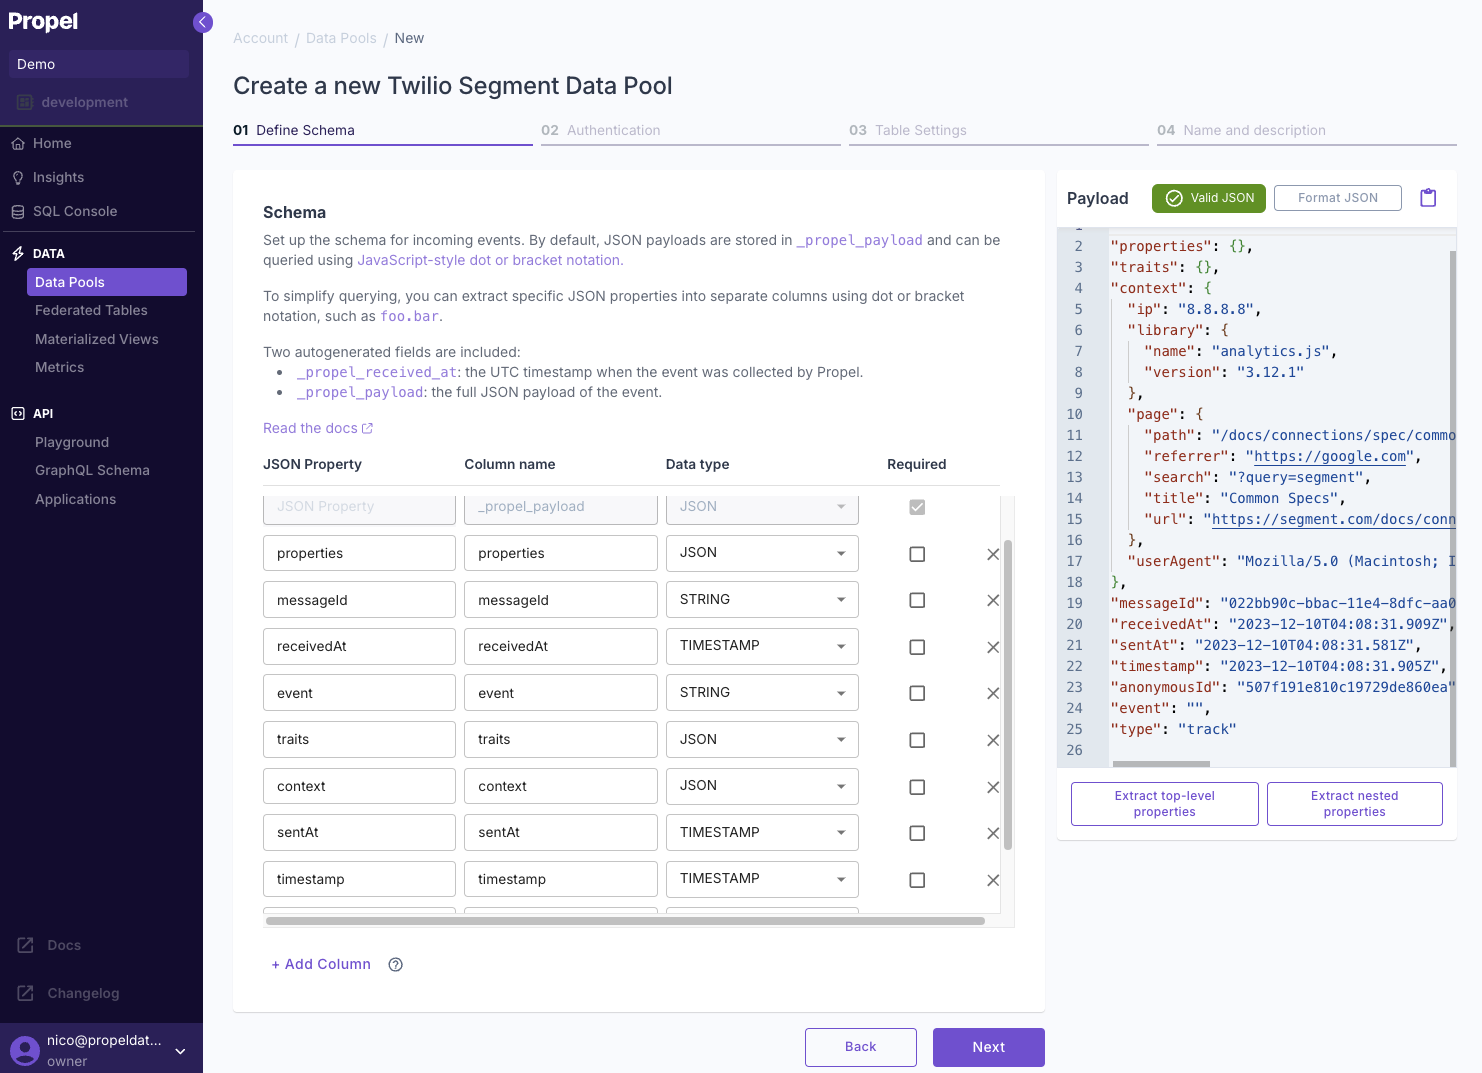 With the sample event or your own, you can:
* **Extract top-level properties** to create columns representing the top-level keys.
* **Extract nested properties** to create columns representing the nested JSON keys.
If a required field is missing from the sample event, Propel will reject the event with an `HTTP 400 Bad Request` error.
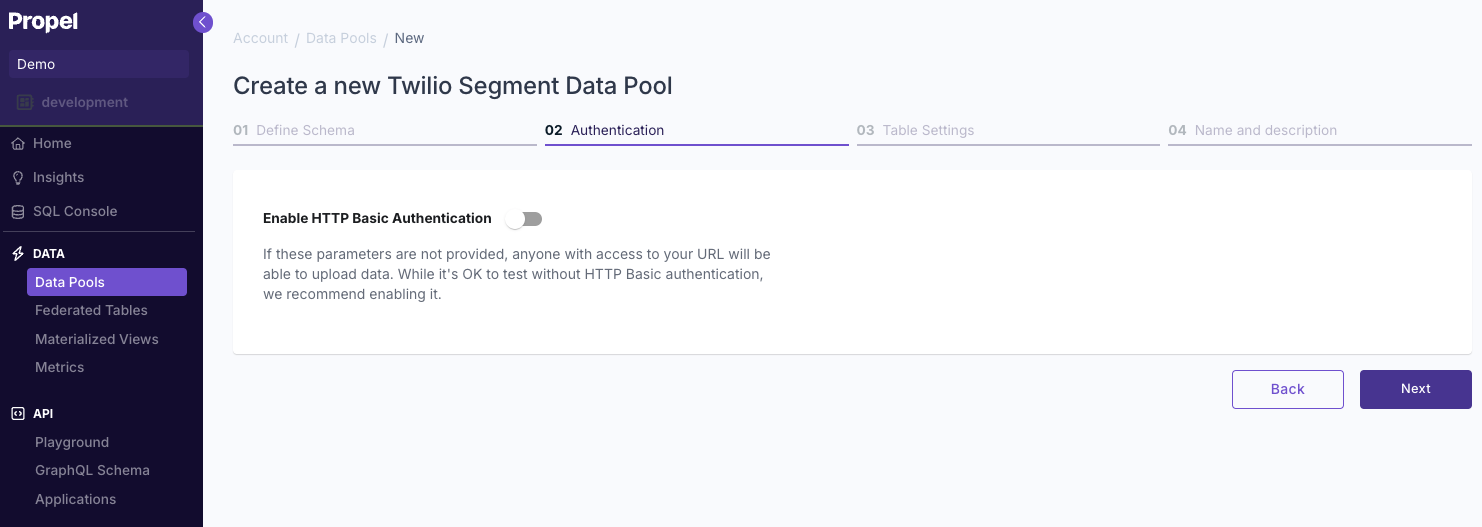
You can enable basic authentication to secure your endpoint.
After configuring, click **"Next"** to proceed.
With the sample event or your own, you can:
* **Extract top-level properties** to create columns representing the top-level keys.
* **Extract nested properties** to create columns representing the nested JSON keys.
If a required field is missing from the sample event, Propel will reject the event with an `HTTP 400 Bad Request` error.
You can enable basic authentication to secure your endpoint.
After configuring, click **"Next"** to proceed.
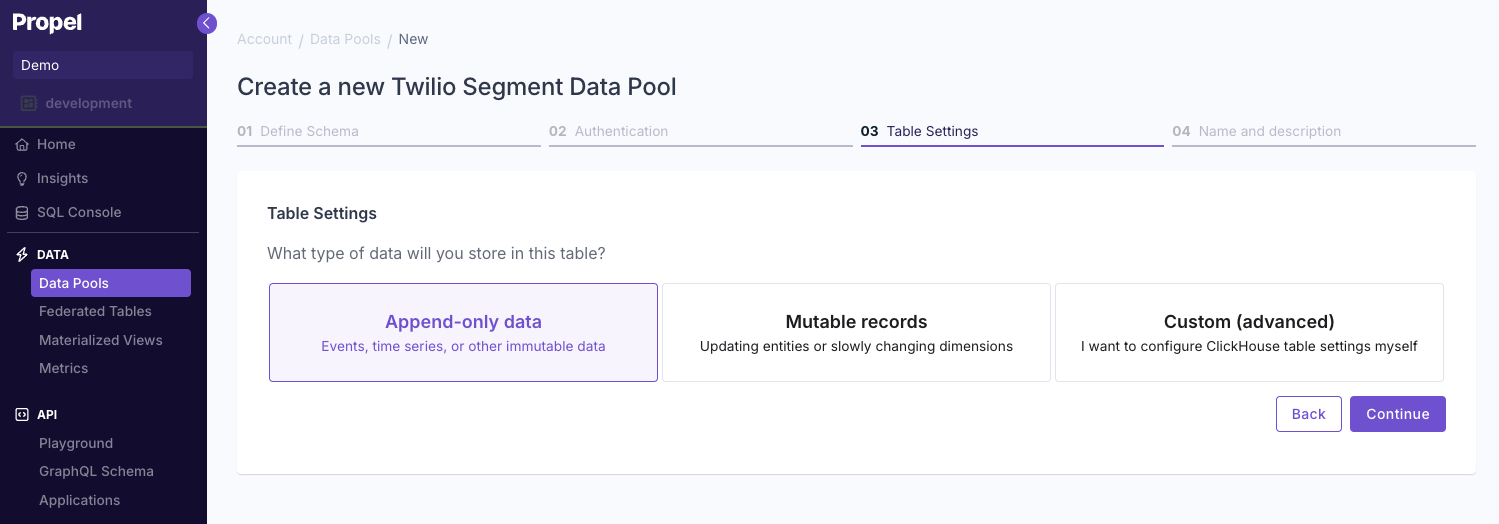
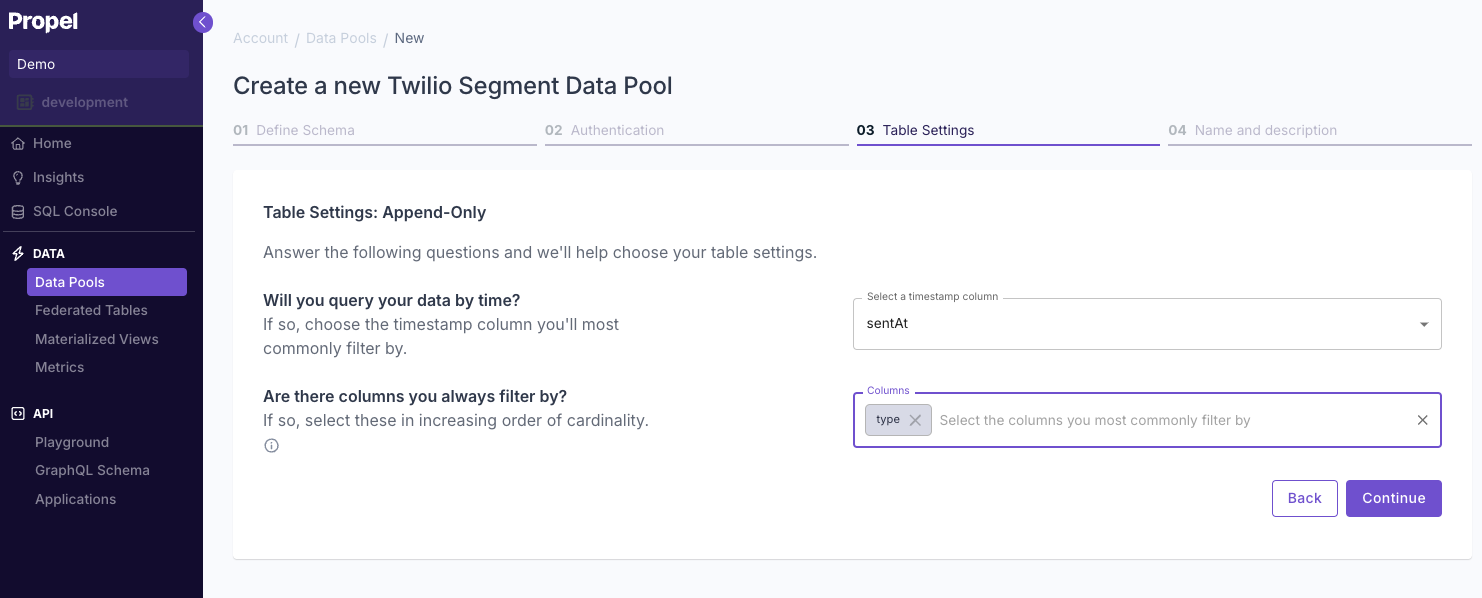
 Select **"Append-only"**.
To learn more, read out guide on [Selecting table engine and sorting key](/docs/guides/table-engine-and-sorting-key).
Select **"Append-only"**.
To learn more, read out guide on [Selecting table engine and sorting key](/docs/guides/table-engine-and-sorting-key).
 Answer the questions in the wizard to complete the setup.
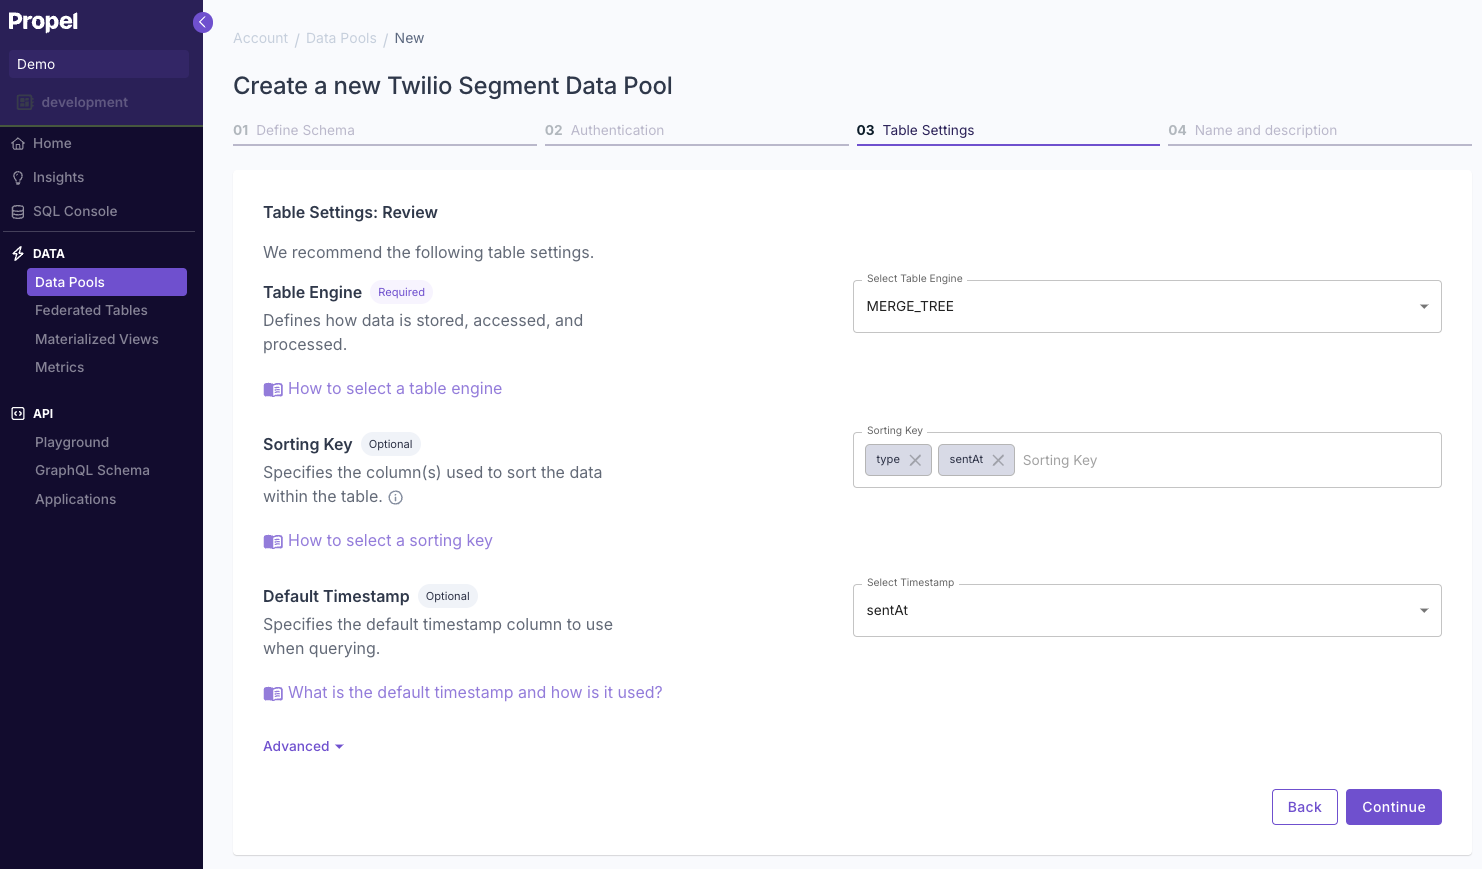
 Confirm your table settings and click **"Continue"**.
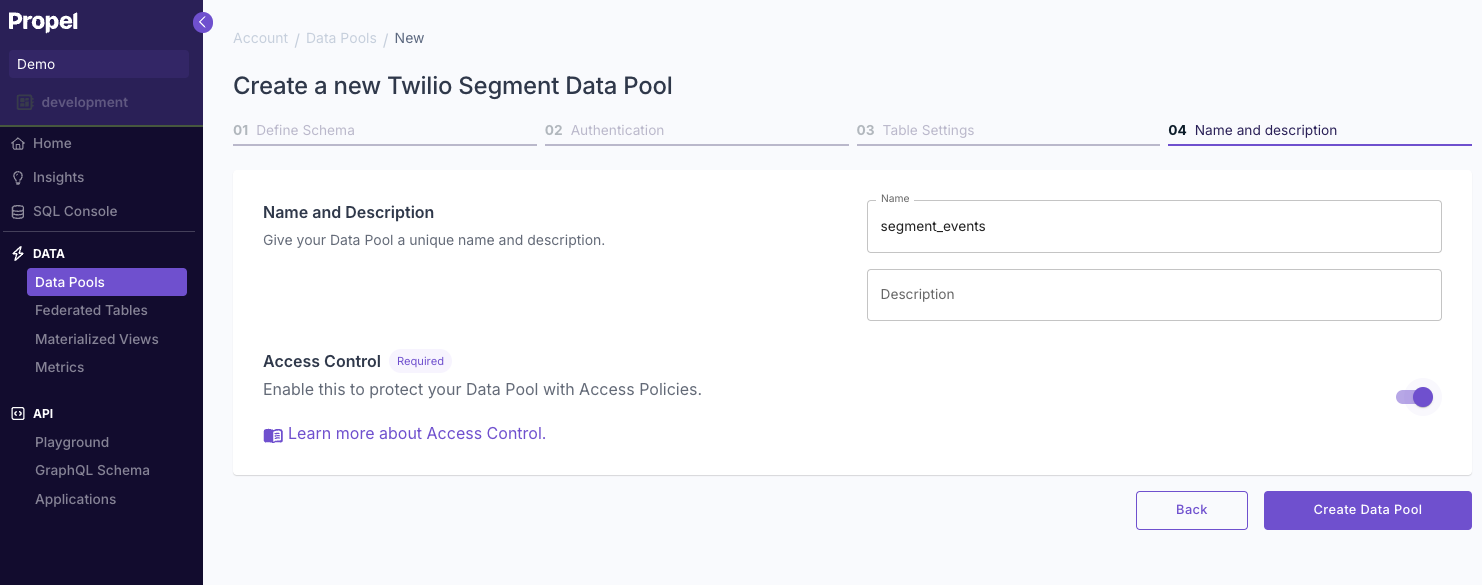
 Enter a name and description for your new Data Pool and click **"Next"**.
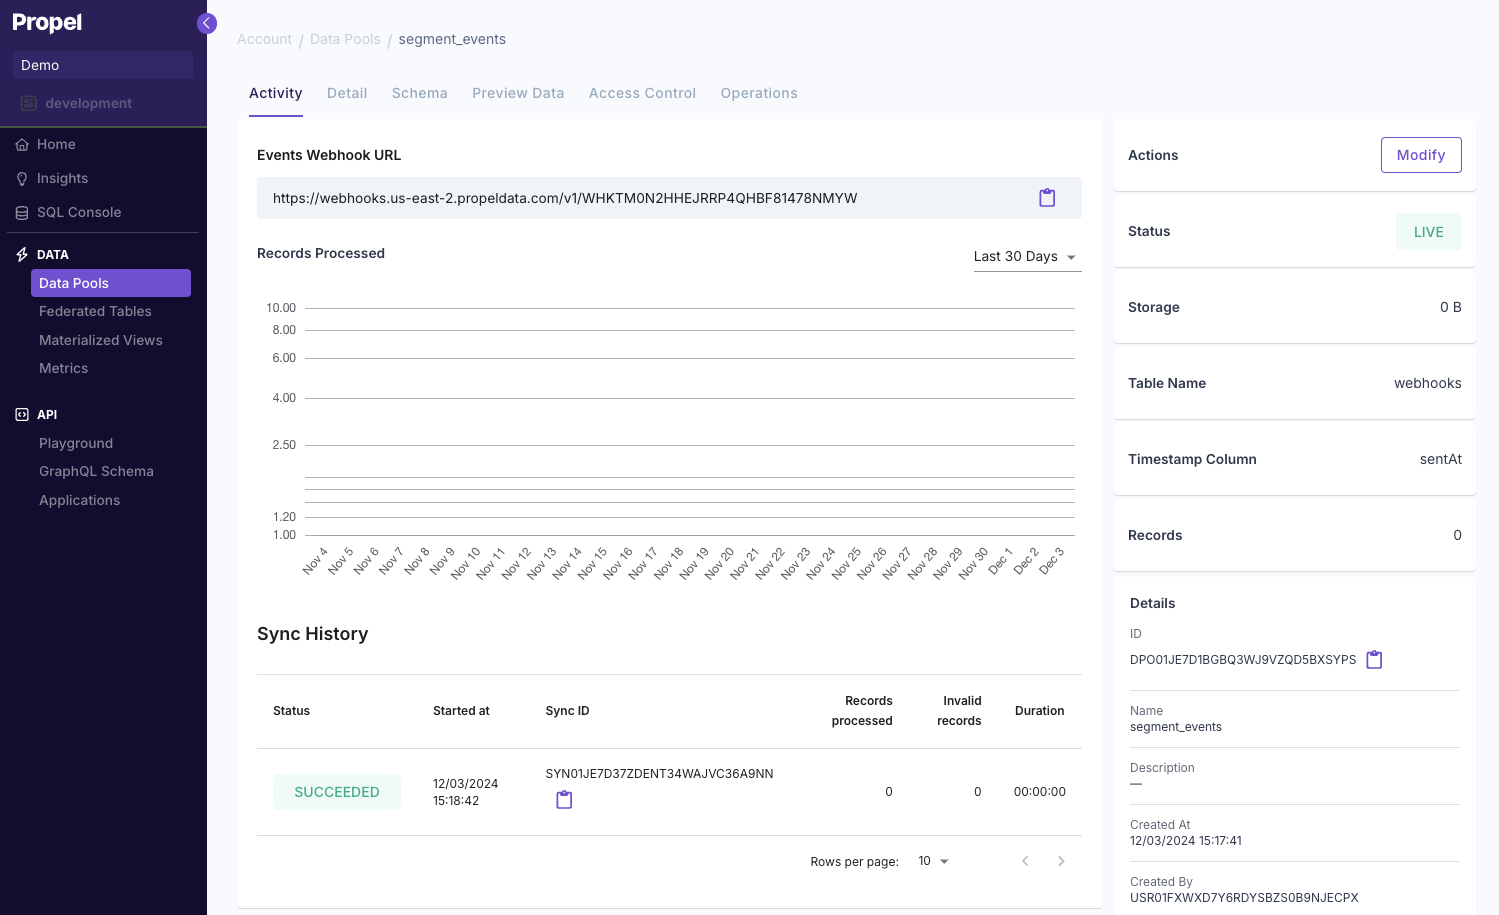
 After creating the Data Pool, you'll be provided with a unique HTTP endpoint.
You'll need this endpoint and key to configure your Segment webhook destination.
After creating the Data Pool, you'll be provided with a unique HTTP endpoint.
You'll need this endpoint and key to configure your Segment webhook destination.
 For the Twilio Segment Data Pool, creating the Data Source below automatically creates the Data Pool.
```graphql theme={"system"}
mutation {
createTwilioSegmentDataSource(input: {
uniqueName: "my_twilio_segment_data_pool"
description:"My Twilio Segment Data Pool"
connectionSettings: {
basicAuth: {
username: ""
password: ""
}
columns: [
{ name: "properties", jsonProperty: "properties", type: JSON, nullable: true },
{ name: "messageId", jsonProperty: "messageId", type: STRING, nullable: true },
{ name: "receivedAt", jsonProperty: "receivedAt", type: TIMESTAMP, nullable: true },
{ name: "event", jsonProperty: "event", type: STRING, nullable: true },
{ name: "traits", jsonProperty: "traits", type: JSON, nullable: true },
{ name: "context", jsonProperty: "context", type: JSON, nullable: true },
{ name: "sentAt", jsonProperty: "sentAt", type: TIMESTAMP, nullable: true },
{ name: "timestamp", jsonProperty: "timestamp", type: TIMESTAMP, nullable: true },
{ name: "anonymousId", jsonProperty: "anonymousId", type: STRING, nullable: true },
{ name: "type", jsonProperty: "type", type: STRING, nullable: true }
]
accessControlEnabled: true,
tableSettings: {
engine: {
mergeTree: {
type: MERGE_TREE
}
}
orderBy: ["sentAt"],
}
}
}){
dataSource {
id
uniqueName
status
type
connectionSettings {
... on TwilioSegmentConnectionSettings {
httpEndpointURL
}
}
}
}
}
```
***
## Step 2: Create the Segment webhook destination
Once you have the Data Pool created, we'll need to create a Segment webhook destination that sends events to Propel.
Once you are in the **"Destinations"** section of your Segment workspace, click on **"Create Destination"**.
For the Twilio Segment Data Pool, creating the Data Source below automatically creates the Data Pool.
```graphql theme={"system"}
mutation {
createTwilioSegmentDataSource(input: {
uniqueName: "my_twilio_segment_data_pool"
description:"My Twilio Segment Data Pool"
connectionSettings: {
basicAuth: {
username: ""
password: ""
}
columns: [
{ name: "properties", jsonProperty: "properties", type: JSON, nullable: true },
{ name: "messageId", jsonProperty: "messageId", type: STRING, nullable: true },
{ name: "receivedAt", jsonProperty: "receivedAt", type: TIMESTAMP, nullable: true },
{ name: "event", jsonProperty: "event", type: STRING, nullable: true },
{ name: "traits", jsonProperty: "traits", type: JSON, nullable: true },
{ name: "context", jsonProperty: "context", type: JSON, nullable: true },
{ name: "sentAt", jsonProperty: "sentAt", type: TIMESTAMP, nullable: true },
{ name: "timestamp", jsonProperty: "timestamp", type: TIMESTAMP, nullable: true },
{ name: "anonymousId", jsonProperty: "anonymousId", type: STRING, nullable: true },
{ name: "type", jsonProperty: "type", type: STRING, nullable: true }
]
accessControlEnabled: true,
tableSettings: {
engine: {
mergeTree: {
type: MERGE_TREE
}
}
orderBy: ["sentAt"],
}
}
}){
dataSource {
id
uniqueName
status
type
connectionSettings {
... on TwilioSegmentConnectionSettings {
httpEndpointURL
}
}
}
}
}
```
***
## Step 2: Create the Segment webhook destination
Once you have the Data Pool created, we'll need to create a Segment webhook destination that sends events to Propel.
Once you are in the **"Destinations"** section of your Segment workspace, click on **"Create Destination"**.
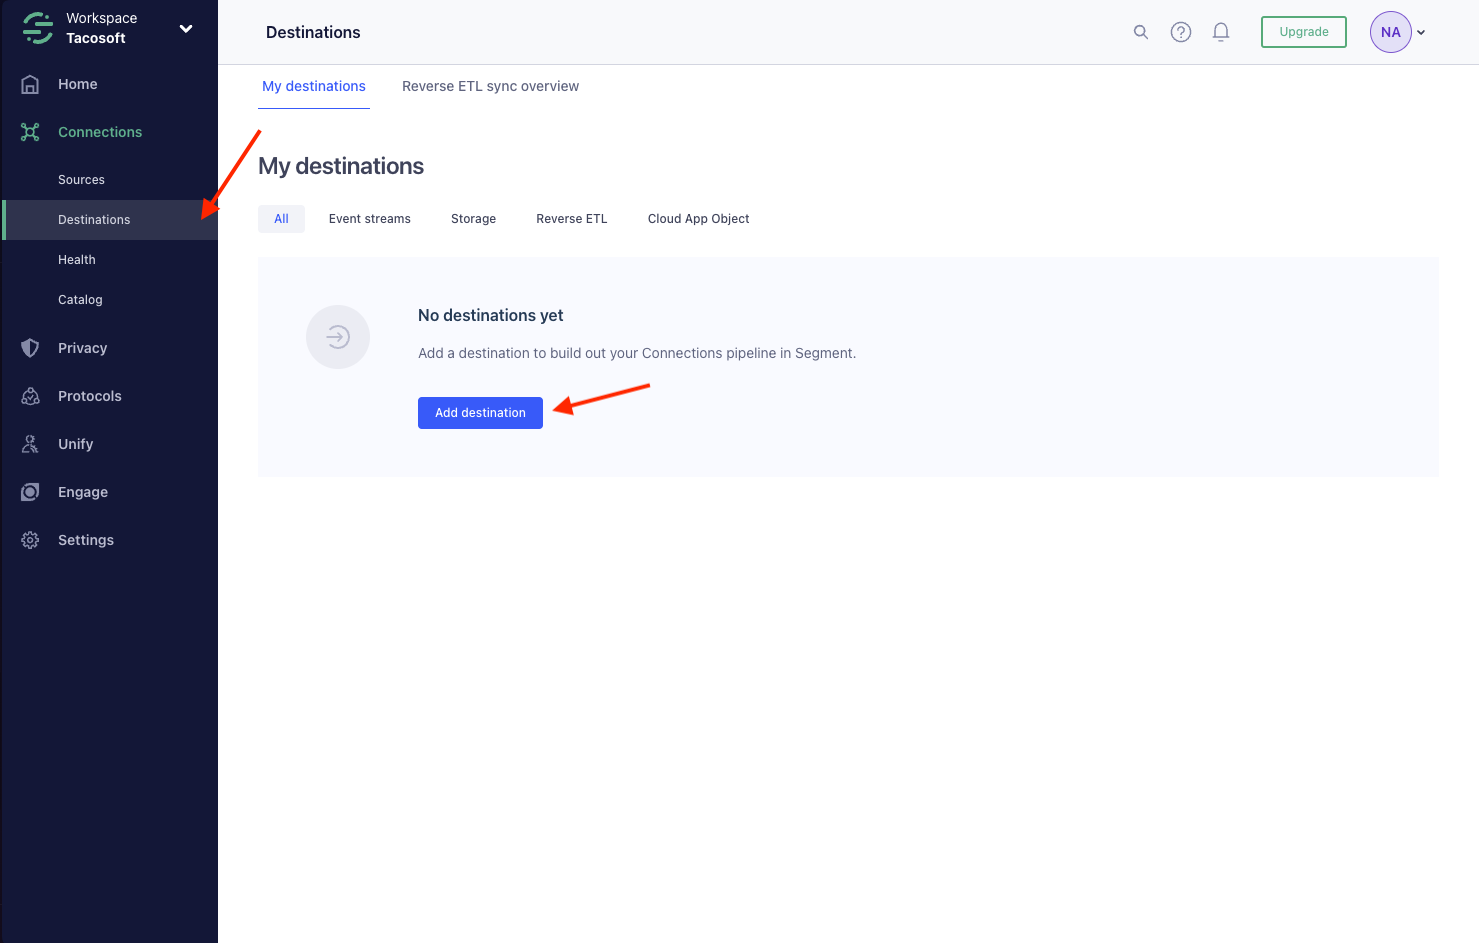 Search for **"Webhooks"** and select it.
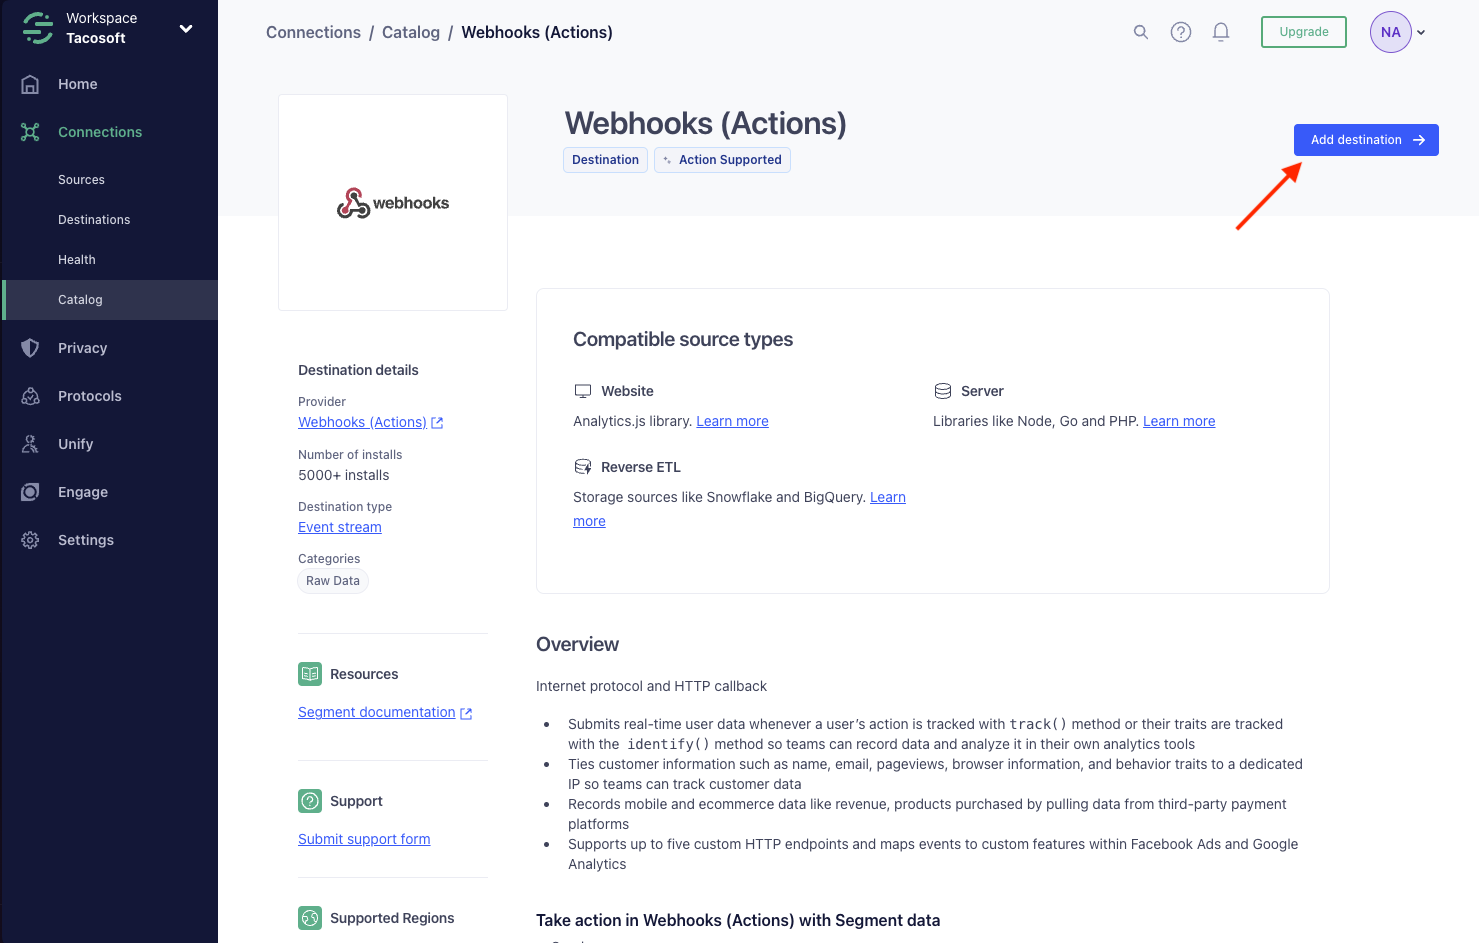
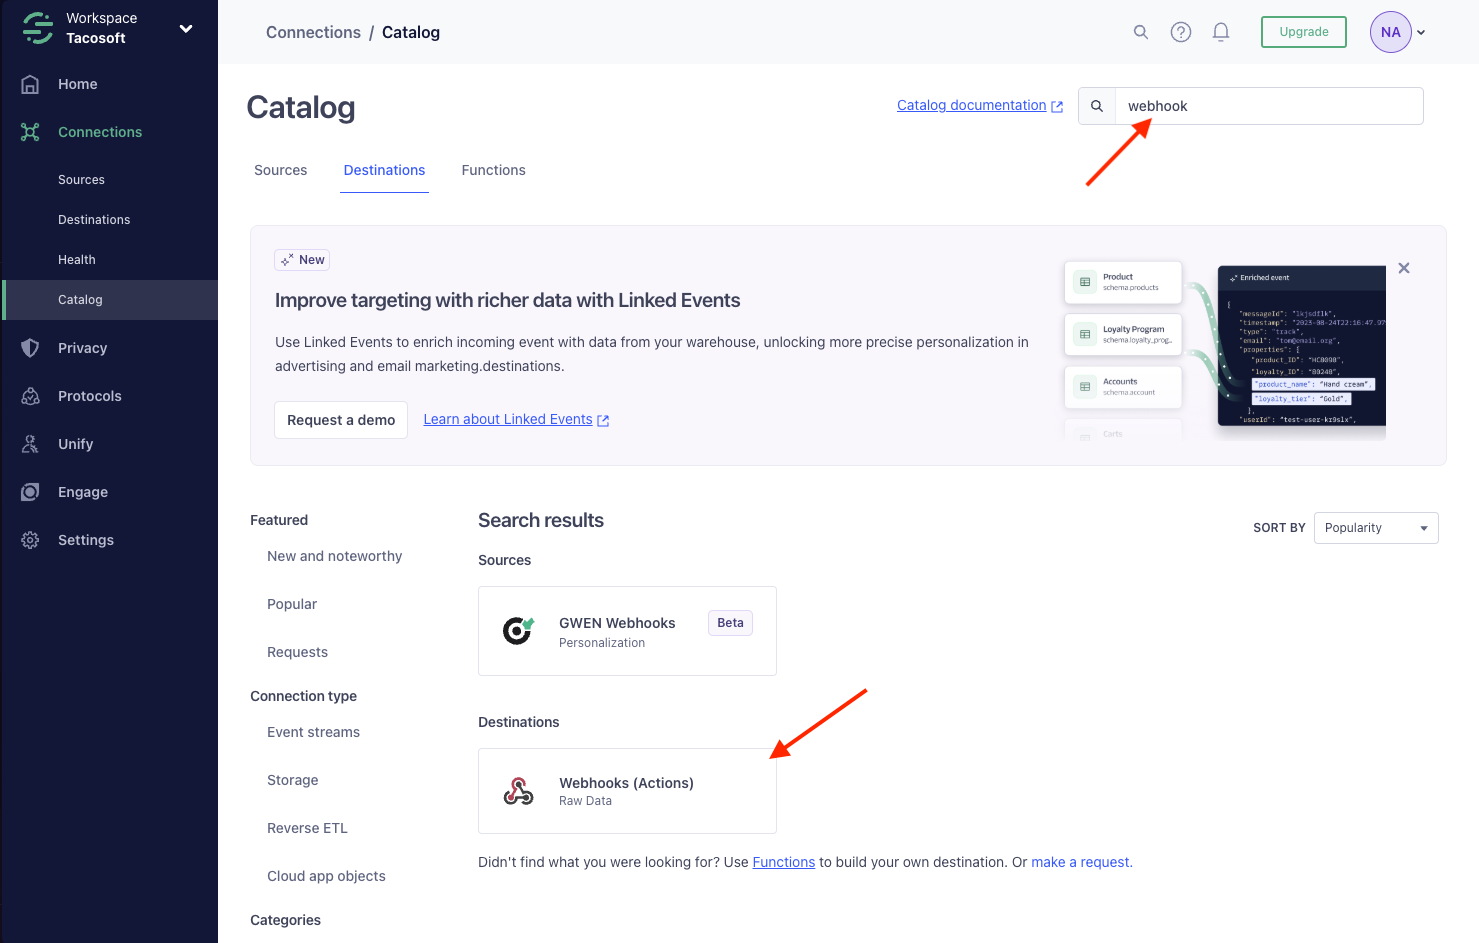 Click **"Add Destination"**.
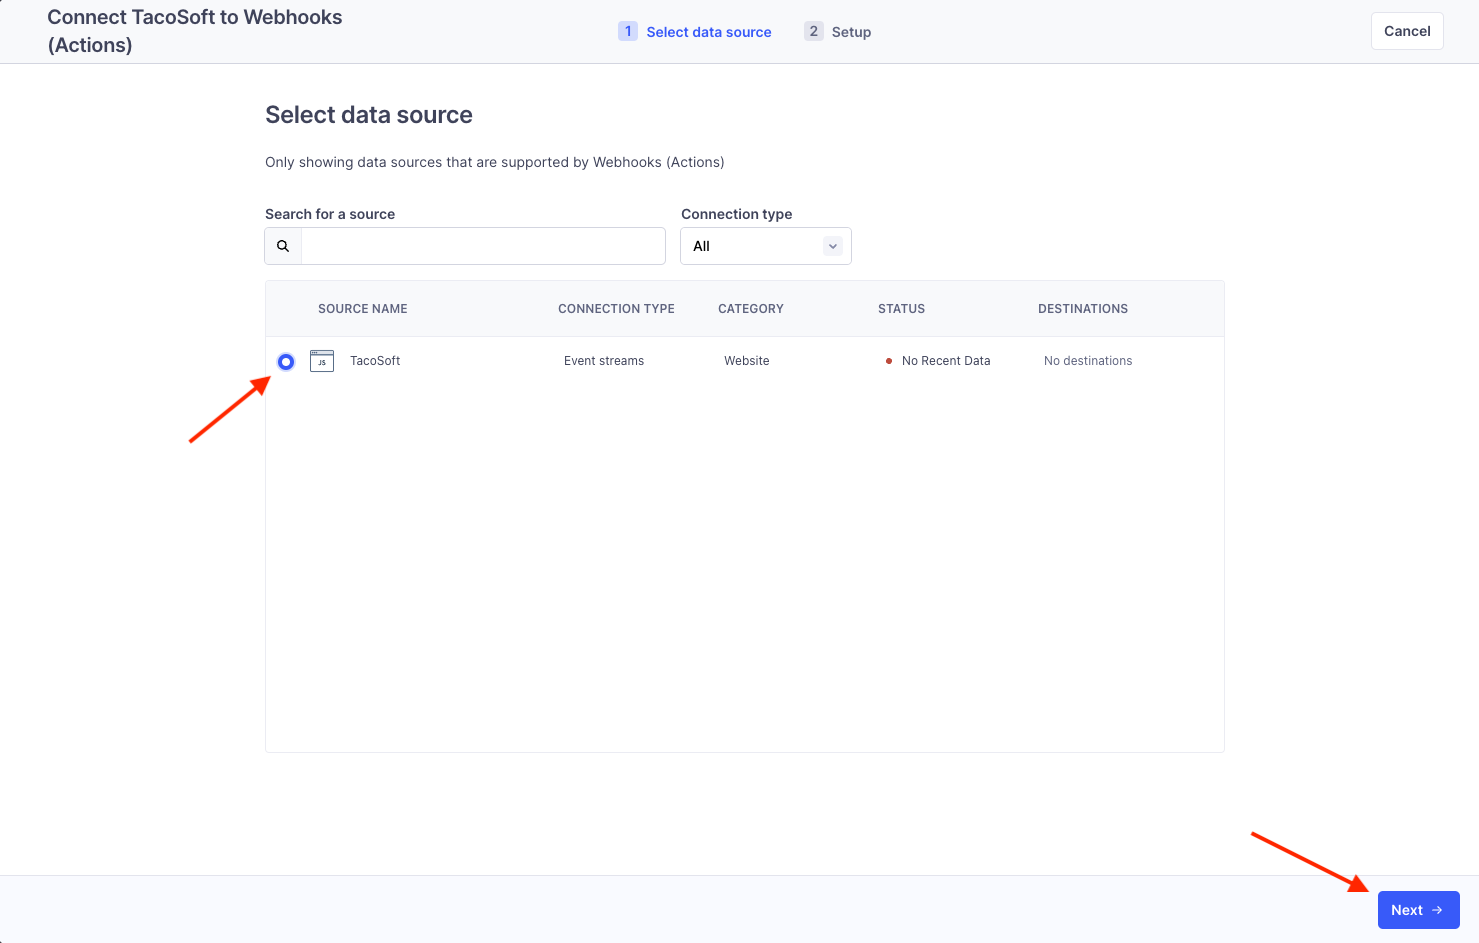
 Select the source you want to send events to and click **"Next"**.
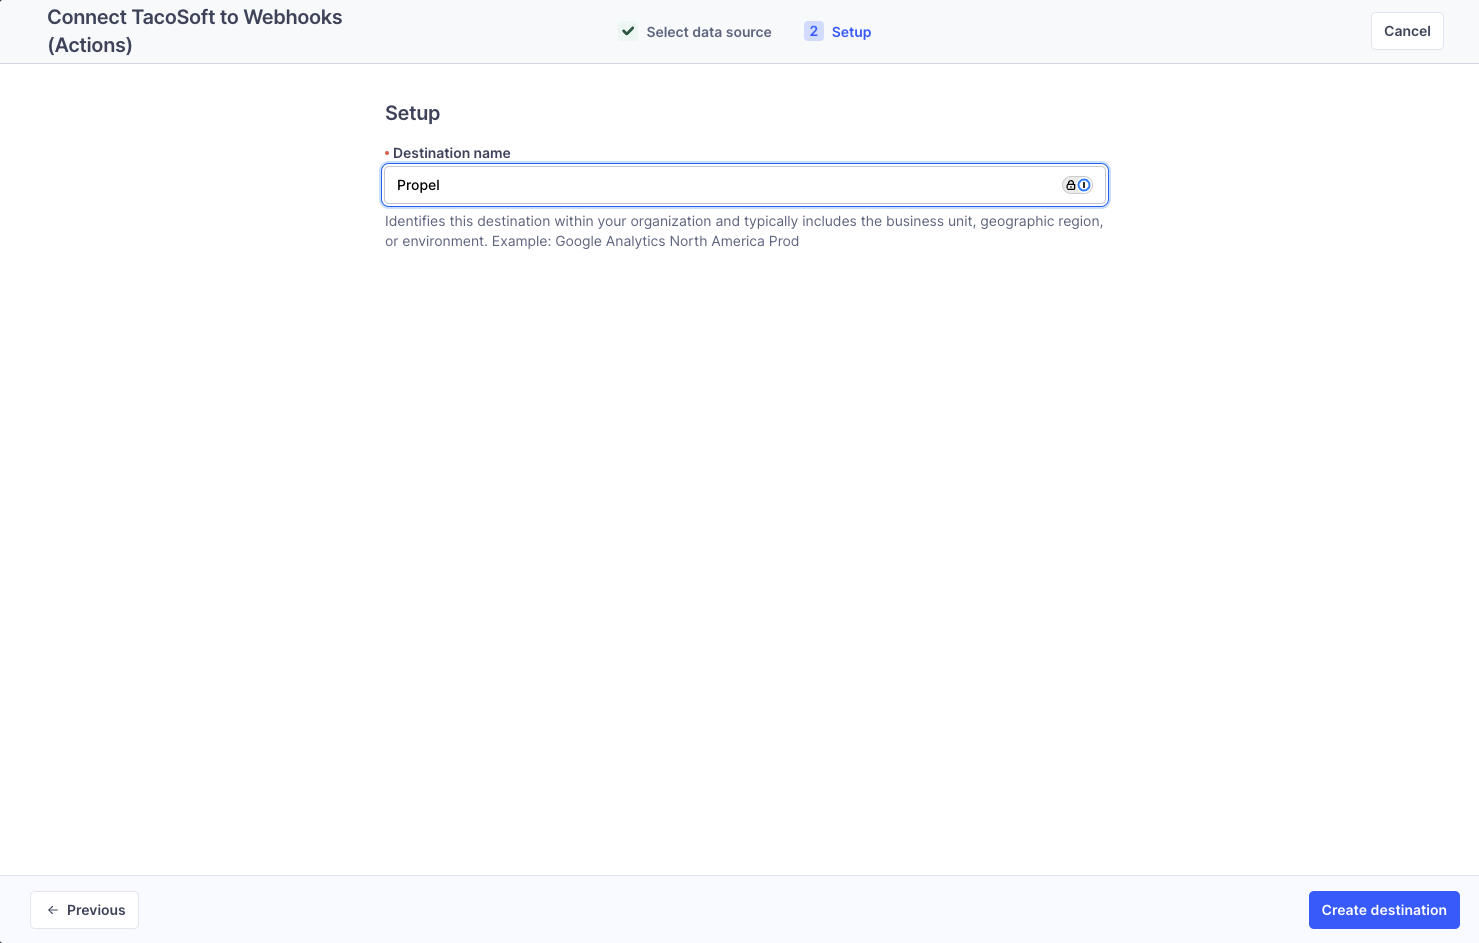
 Name your destination "Propel", then click **"Create destination"**.
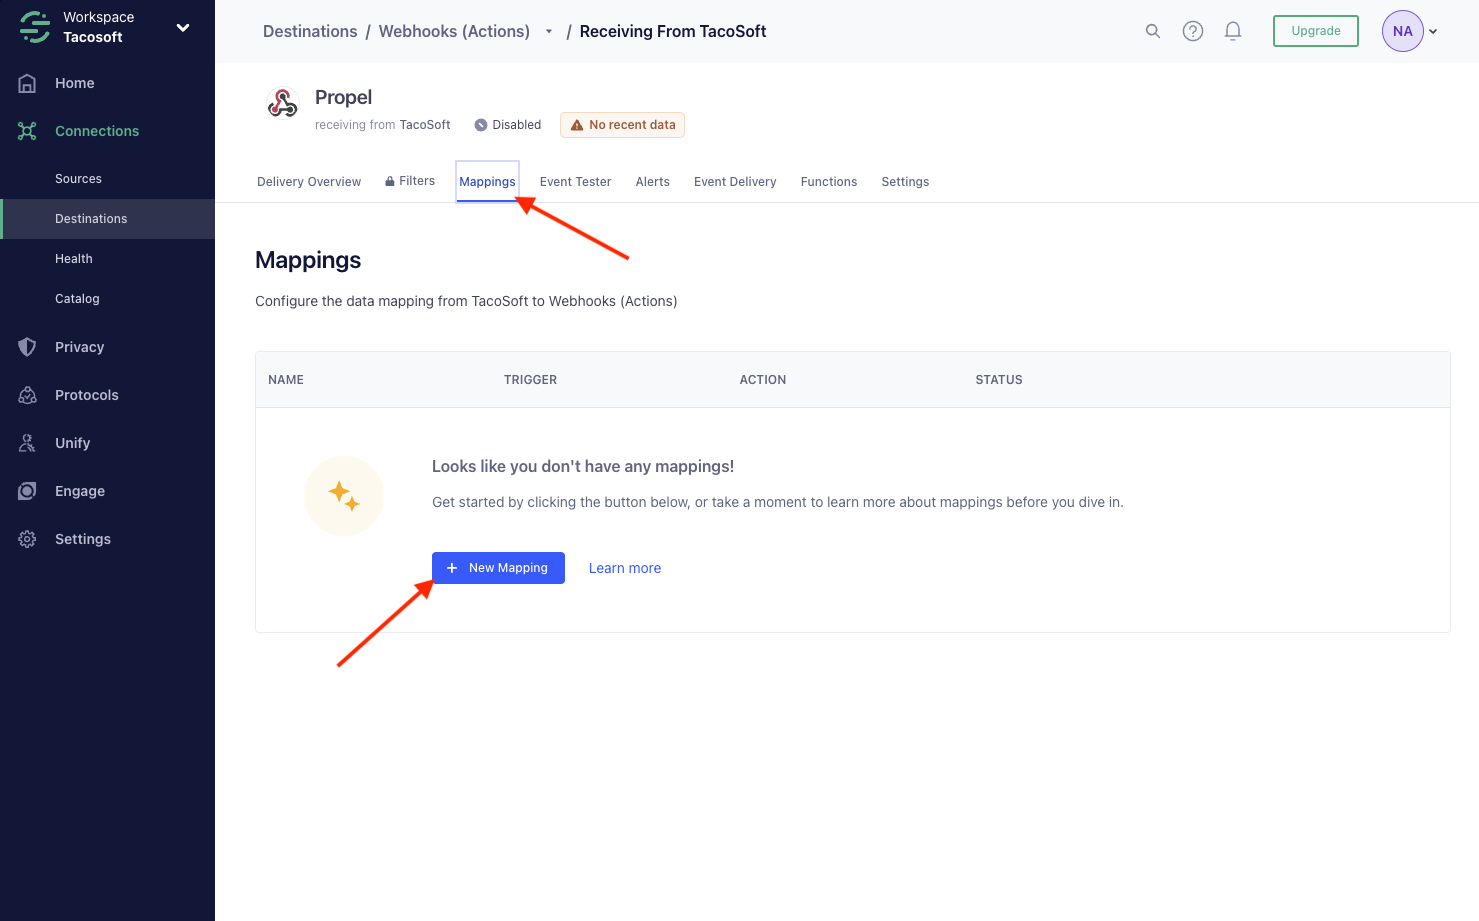
 Click **"Mappings"** tab and click **"New mapping"**.
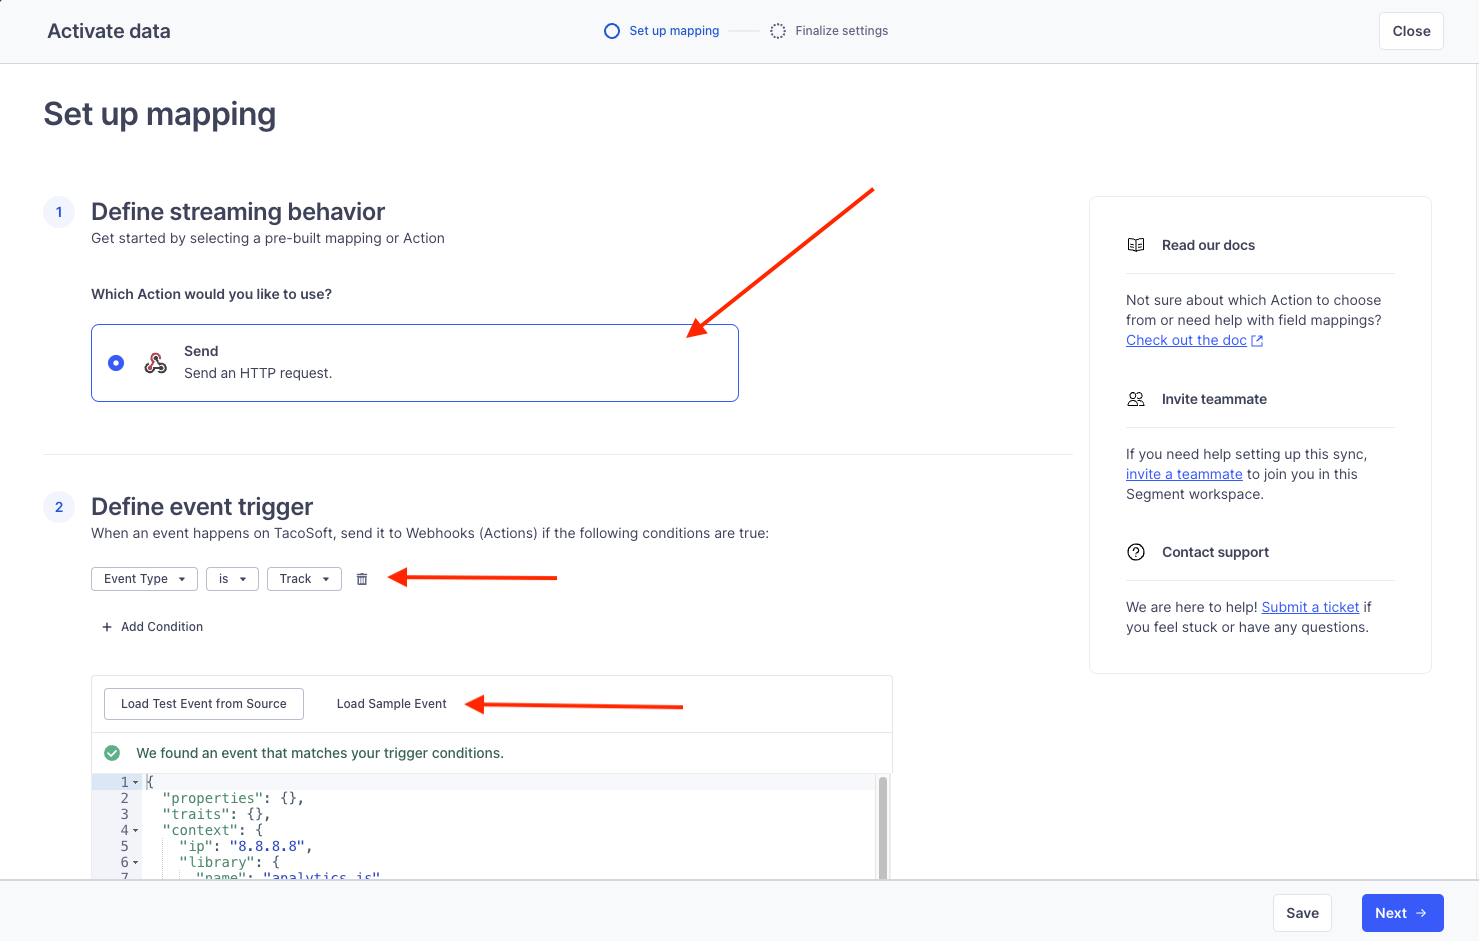
 Select the **"Send an HTTP request"** action, define the event trigger, and load a sample event. You'll need the sample event to test your destination.
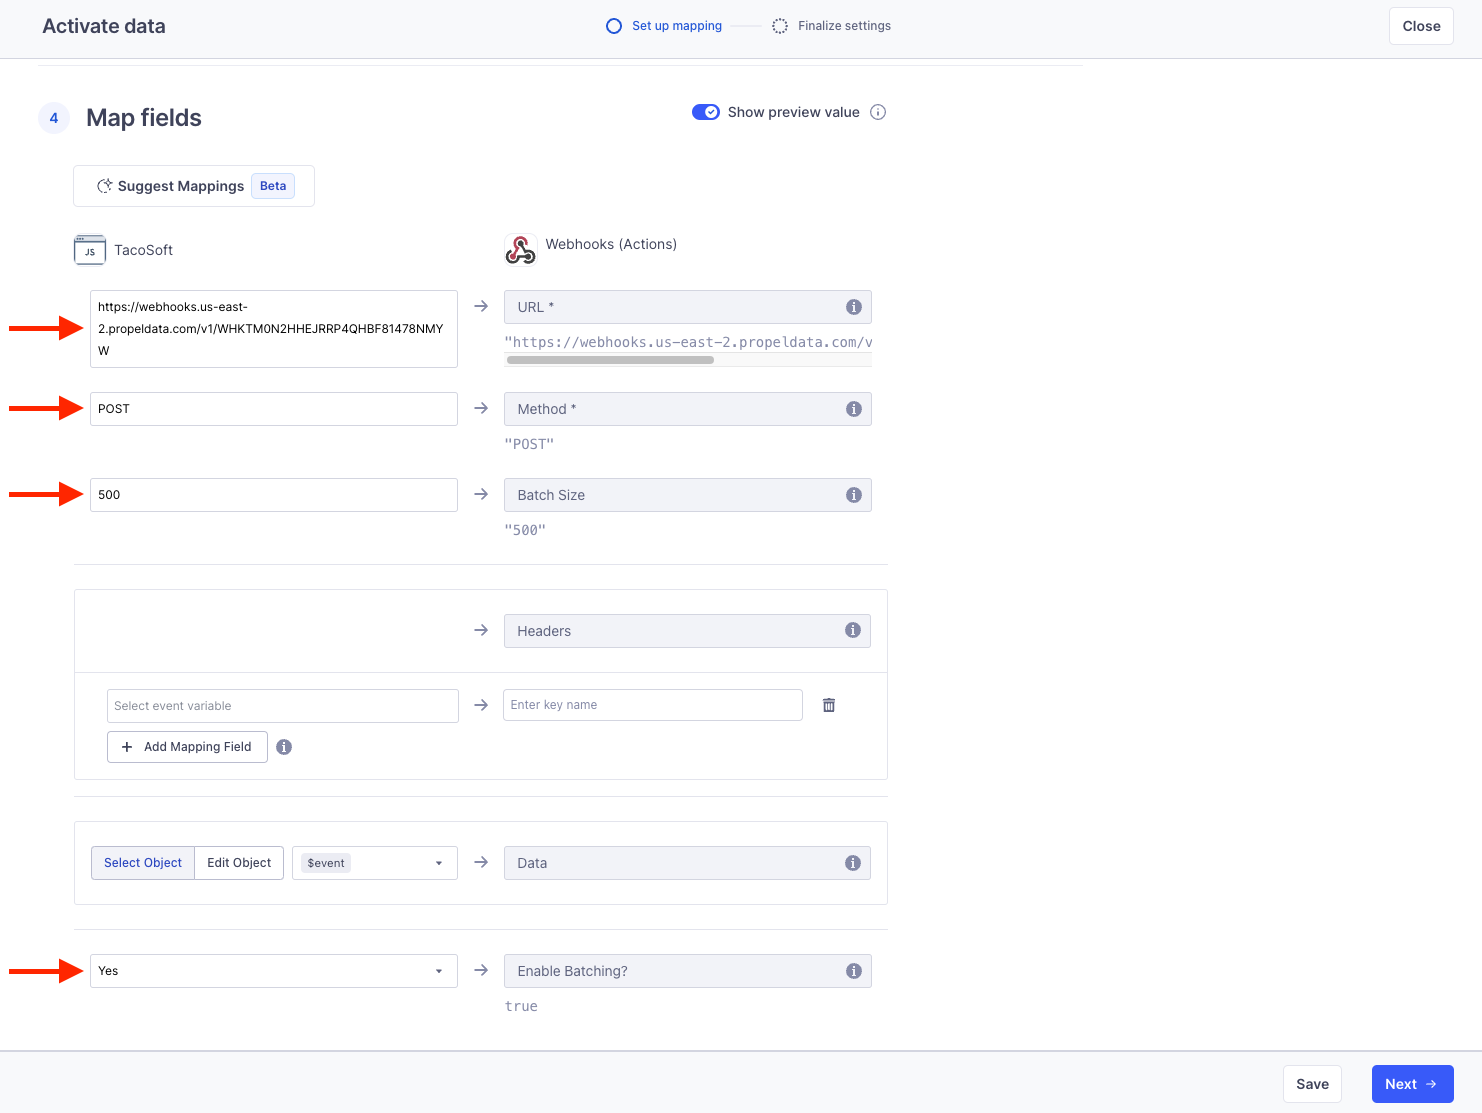
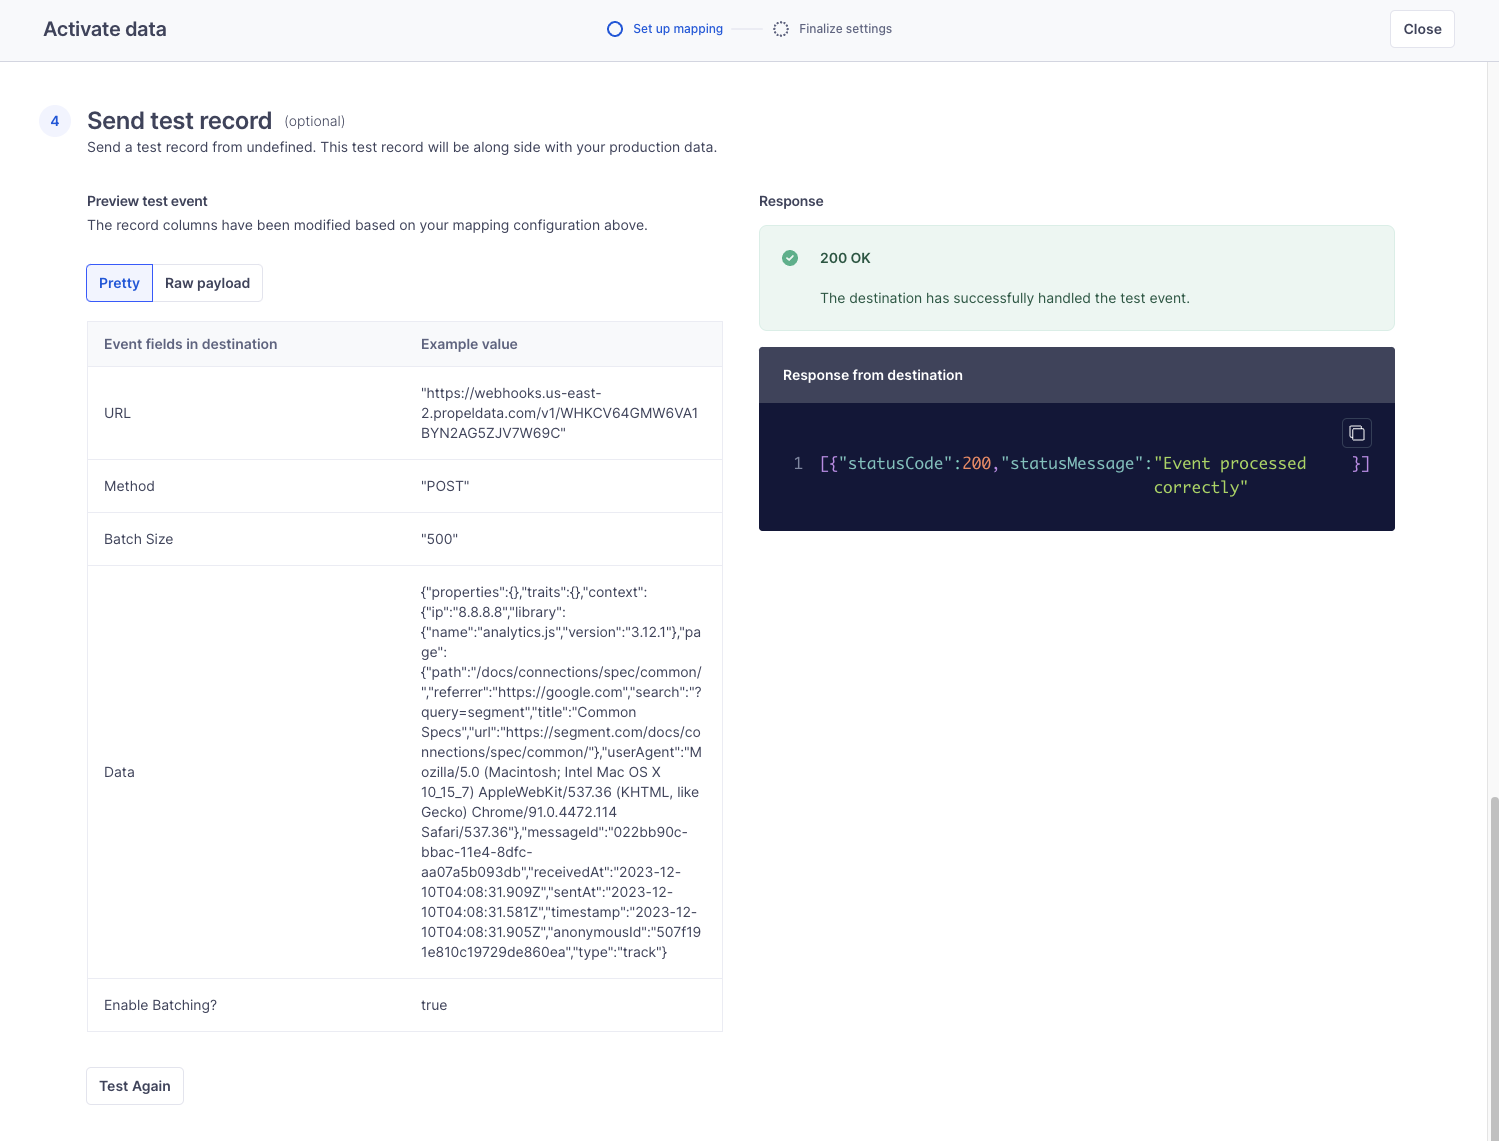
 Enter your Segment Data Pool HTTP endpoint, "POST" as the method, and select batching of 500 events.
 Finally, to test your destination, click **"Send test event"**.
 ***
## Step 3: Preview data in Propel
Once events are in your Segment webhook destination, they are ingested directly to Propel.
By going to your Data Pool and clicking **"Preview Data"**, you'll be able to see the records as they land.
***
## Step 3: Preview data in Propel
Once events are in your Segment webhook destination, they are ingested directly to Propel.
By going to your Data Pool and clicking **"Preview Data"**, you'll be able to see the records as they land.
