> ## Documentation Index
> Fetch the complete documentation index at: https://www.propeldata.com/llms.txt
> Use this file to discover all available pages before exploring further.
# Quickstart
> Get up and running with Propel in under 5 minutes.
In this quickstart, you'll learn how to:
Create a Propel account
Create a Data Pool with sample data
Query the data
Create a Propel Application and get the API credentials
Run the Propel Next.js Starter App
## Prerequisites
* Node.js 18.17 or later.
Let's get started 🚀
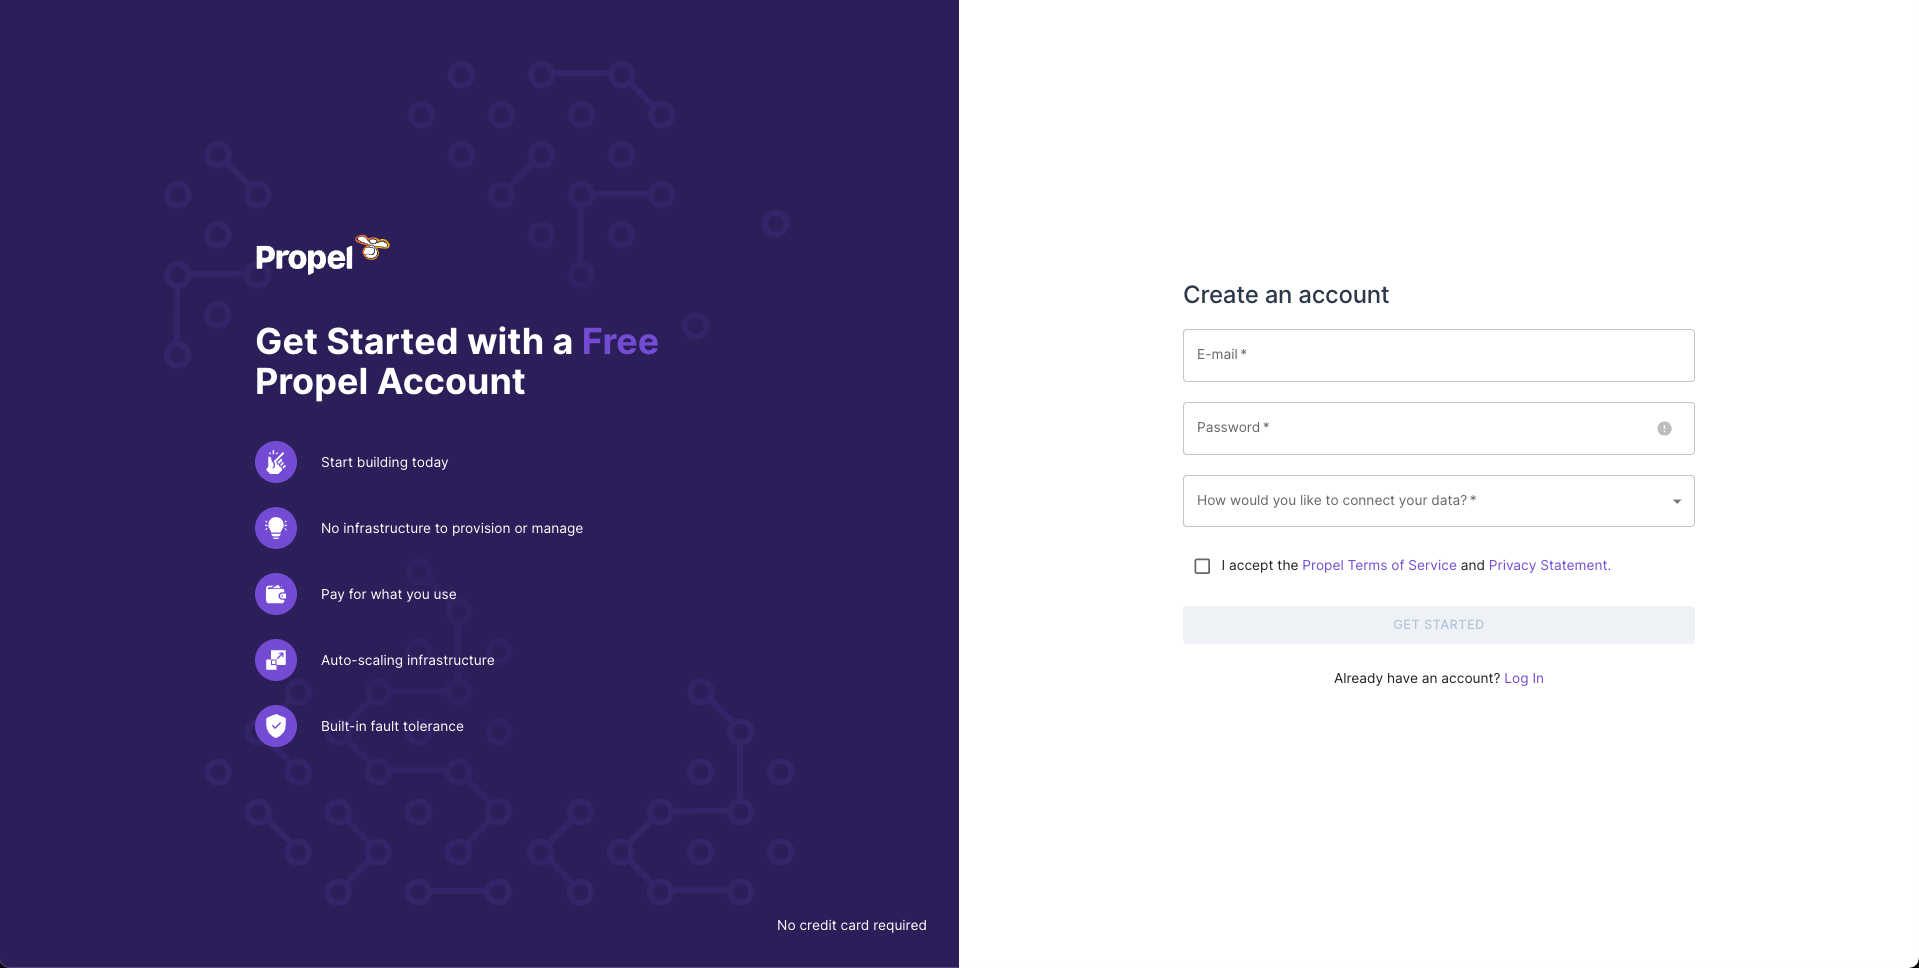
Go to the [sign-up page](https://console.propeldata.com/get-started), enter your email, password, and click **"Get Started"**.
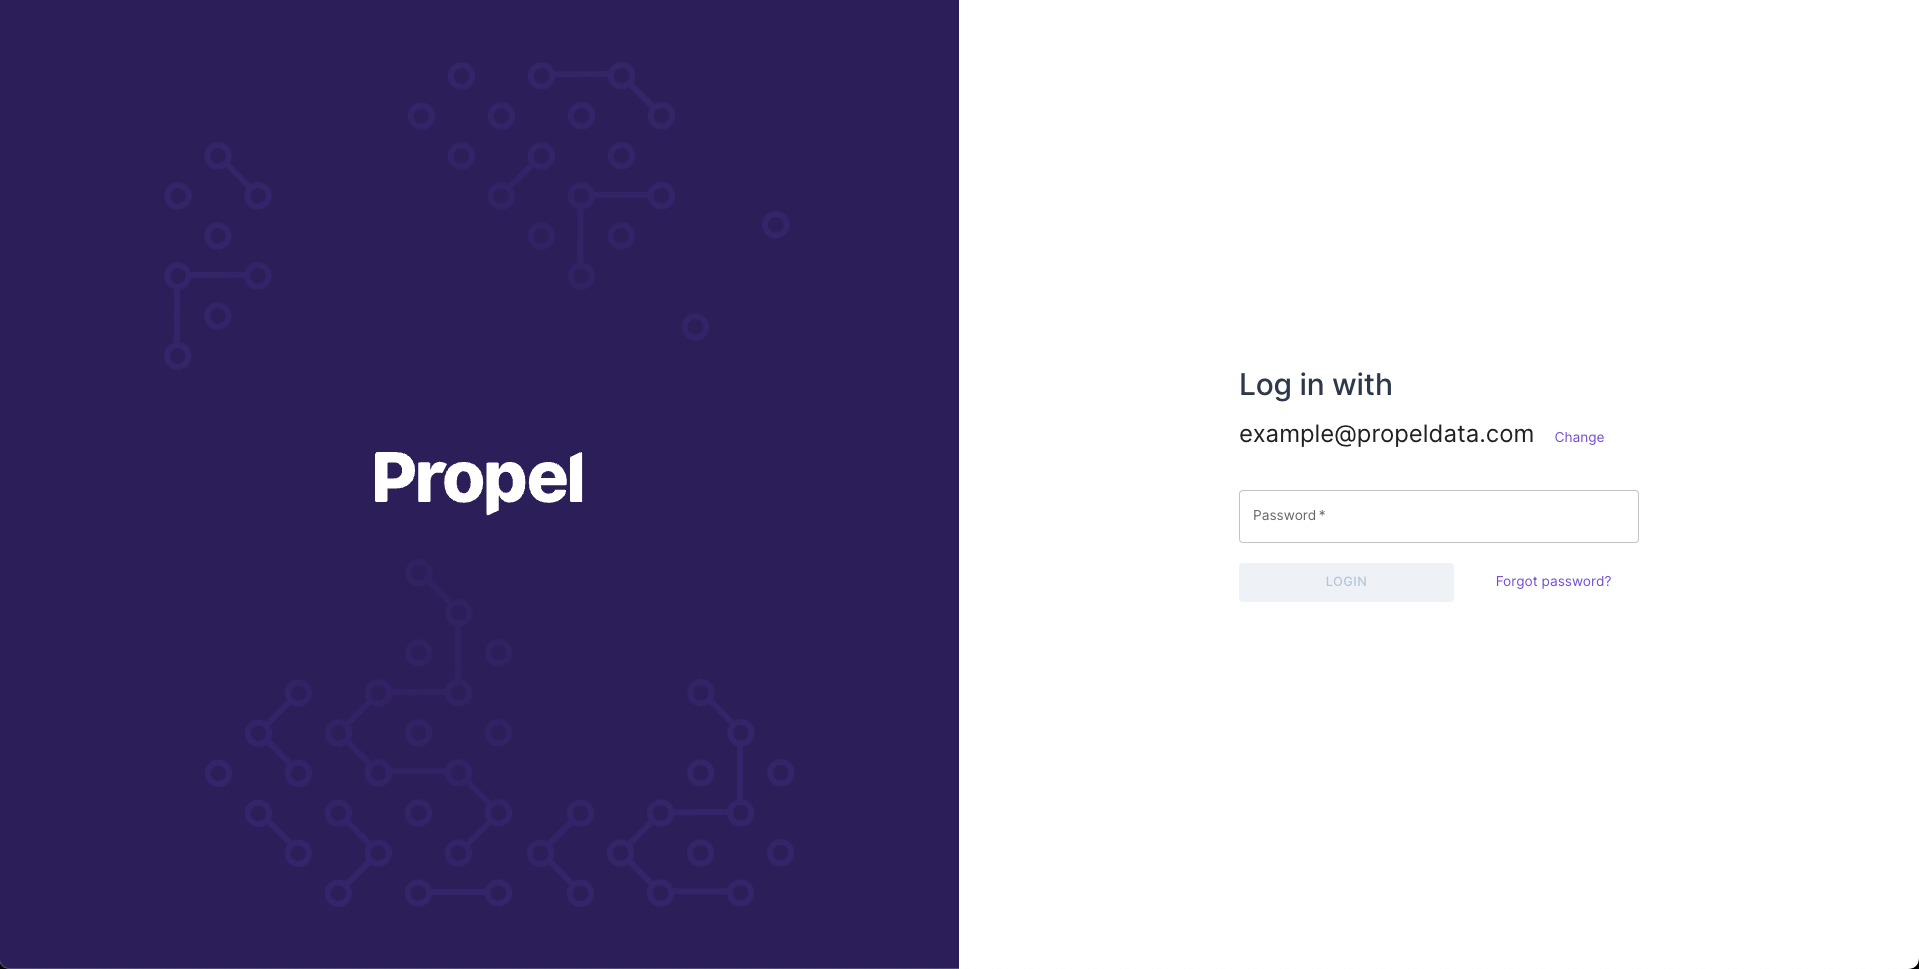
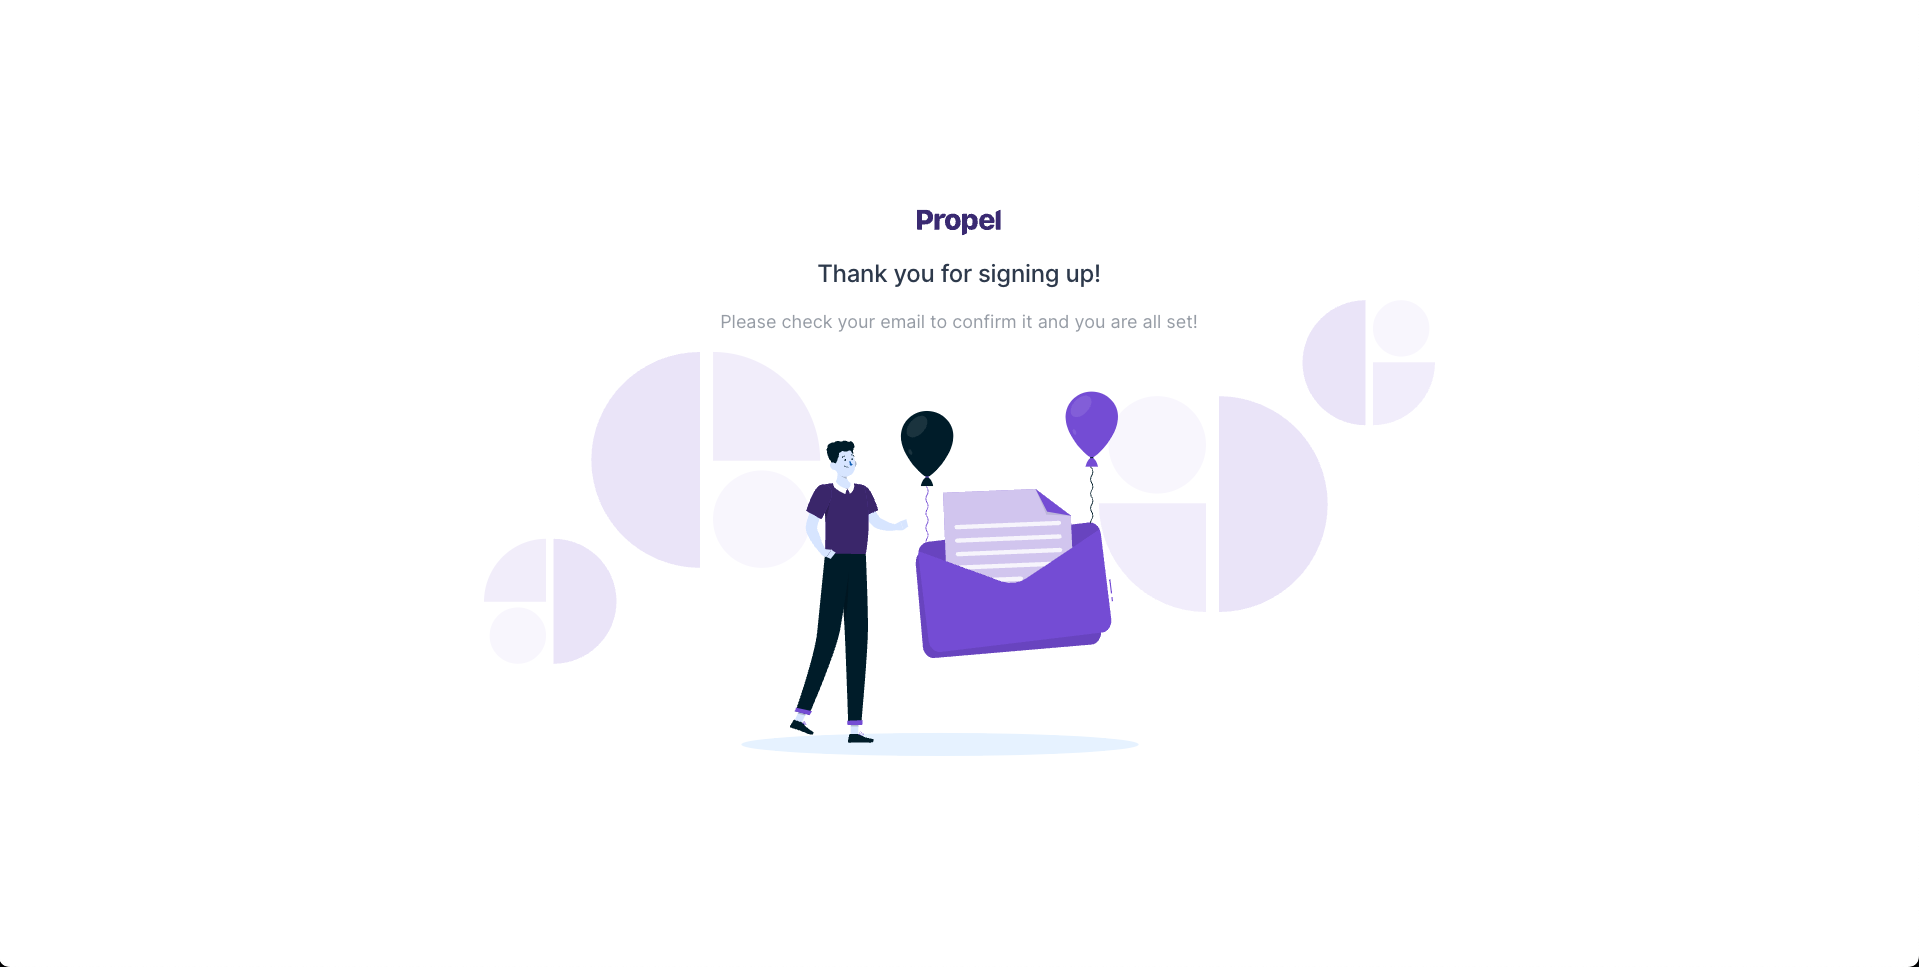 Confirm your email and log in again.
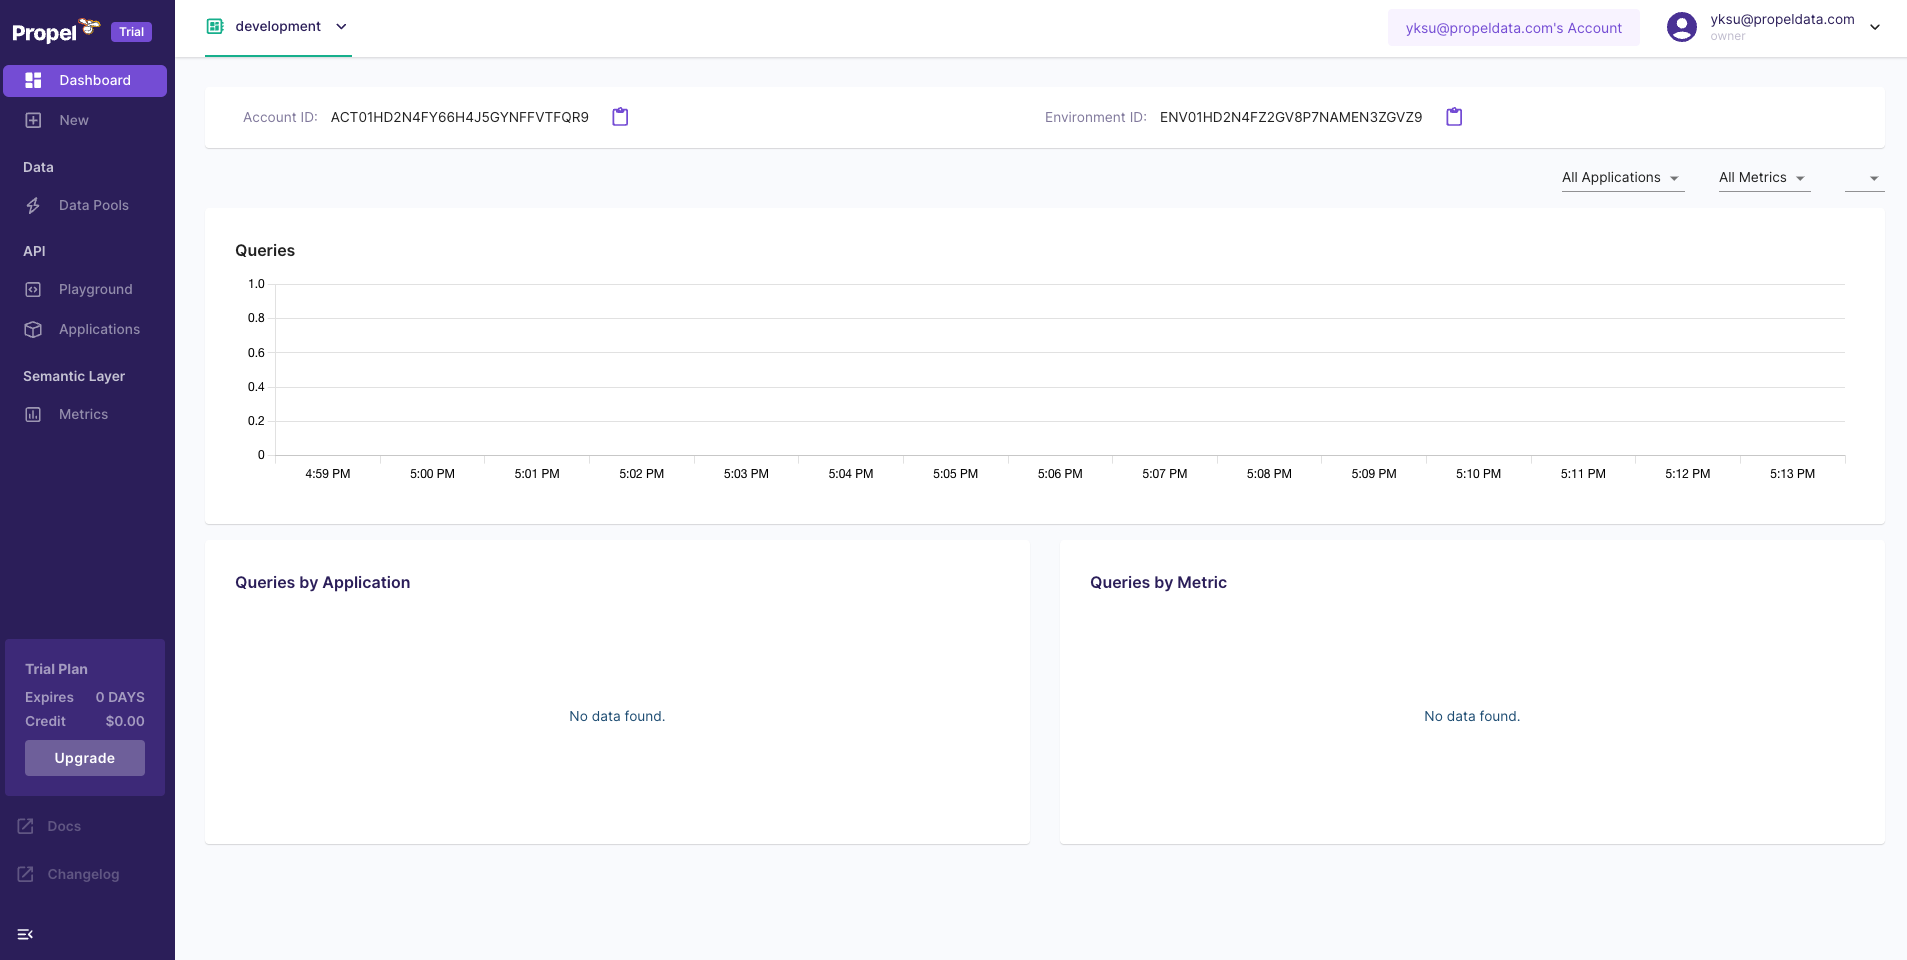
 Once you log in, your account will be created, and you will land in the Propel Console.
 Next, we need some sample data to work with.
We'll need to create a Data Pool. Data Pools are ClickHouse tables that ingest from a data source.
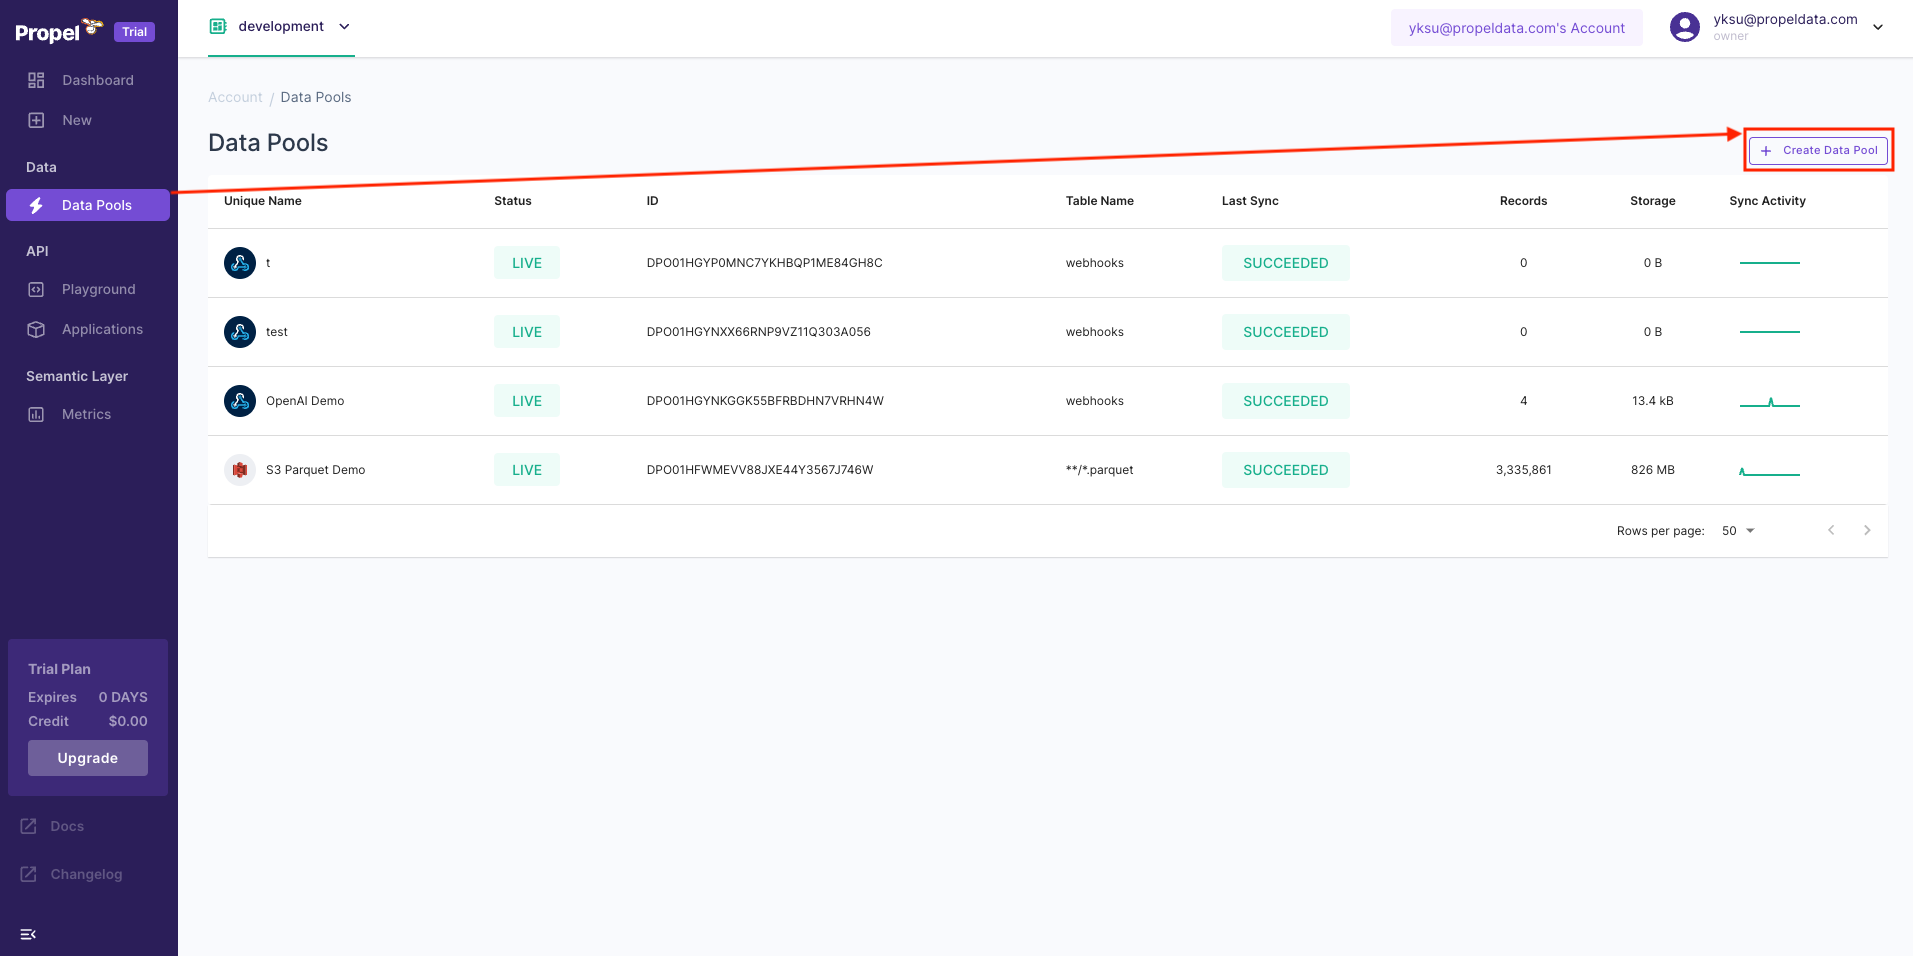
Go to **"Data Pools"**, then click **“Create Data Pool”**.
Next, we need some sample data to work with.
We'll need to create a Data Pool. Data Pools are ClickHouse tables that ingest from a data source.
Go to **"Data Pools"**, then click **“Create Data Pool”**.
 At Propel, we love tacos. So our sample data is taco-themed 🌮!
You will see all data sources supported, as well as the “TacoSoft Demo Data”.
At Propel, we love tacos. So our sample data is taco-themed 🌮!
You will see all data sources supported, as well as the “TacoSoft Demo Data”.
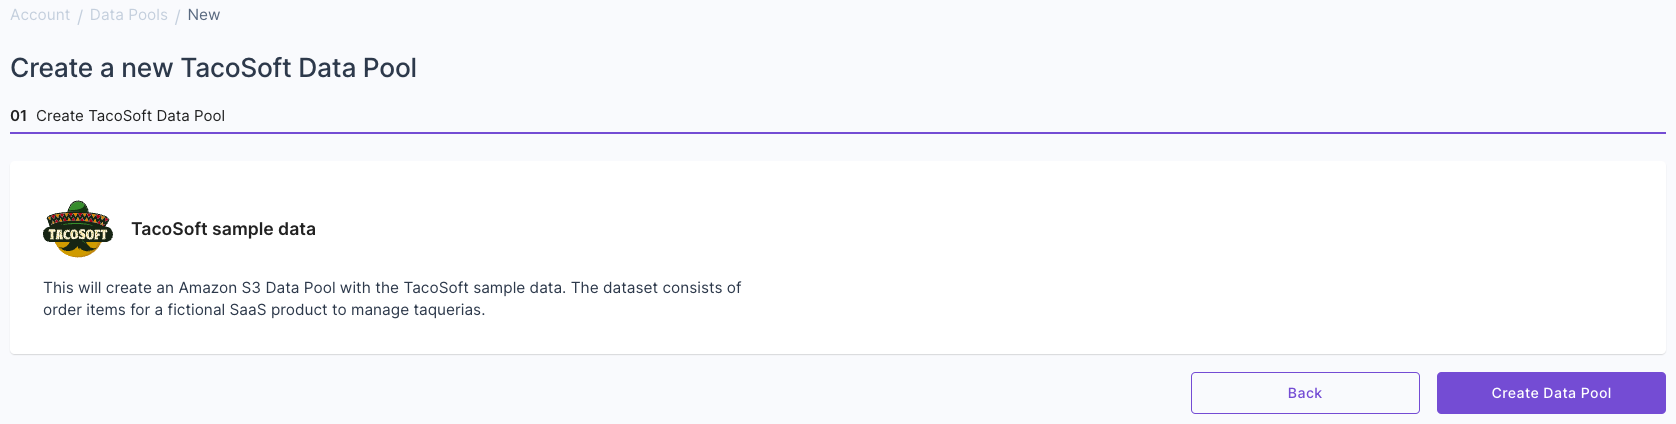
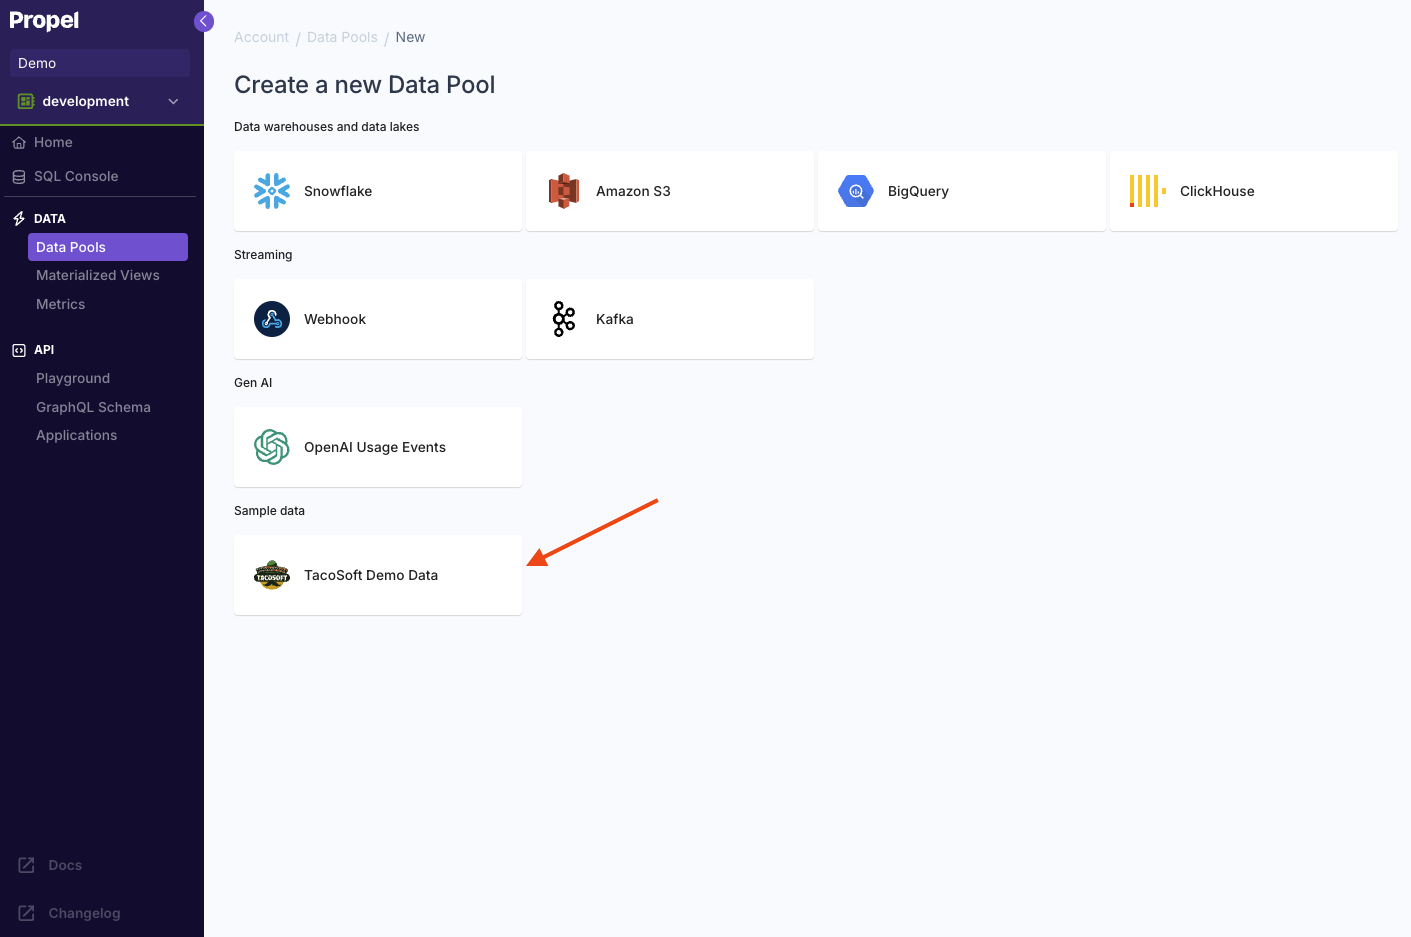 Select the “TacoSoft Demo Data”, then click **"Create Data Pool"**.
 Once you create it, you will see the “TacoSoft Demo Data” Data Pool.
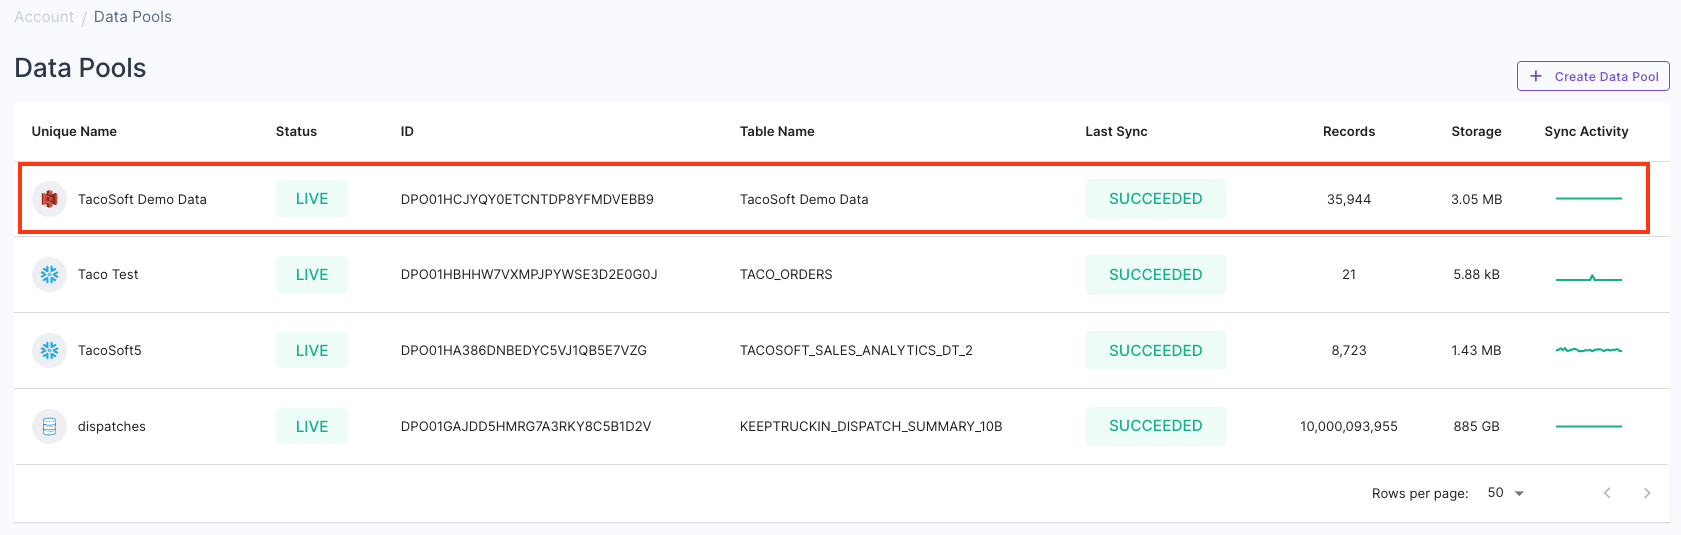 You can click on it and the Data Pool will start syncing.
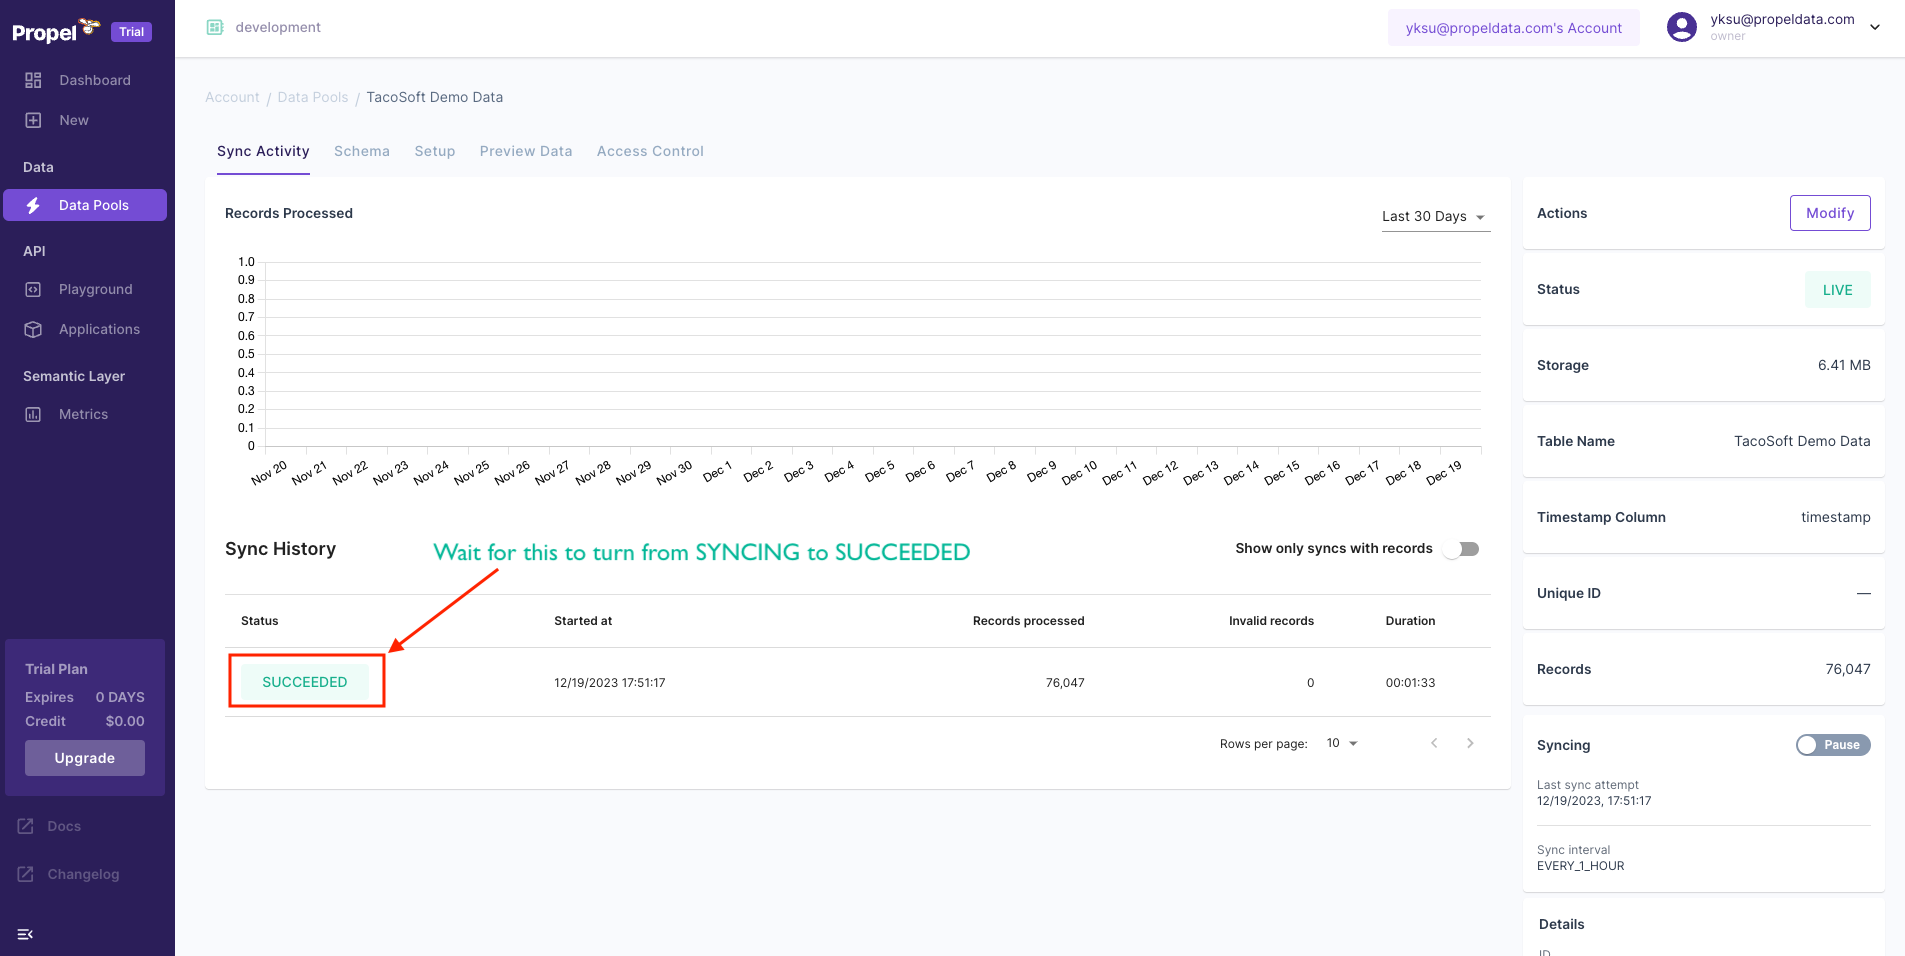 Once it's finished, on the **"Preview Data"** tab, you can see the actual data.
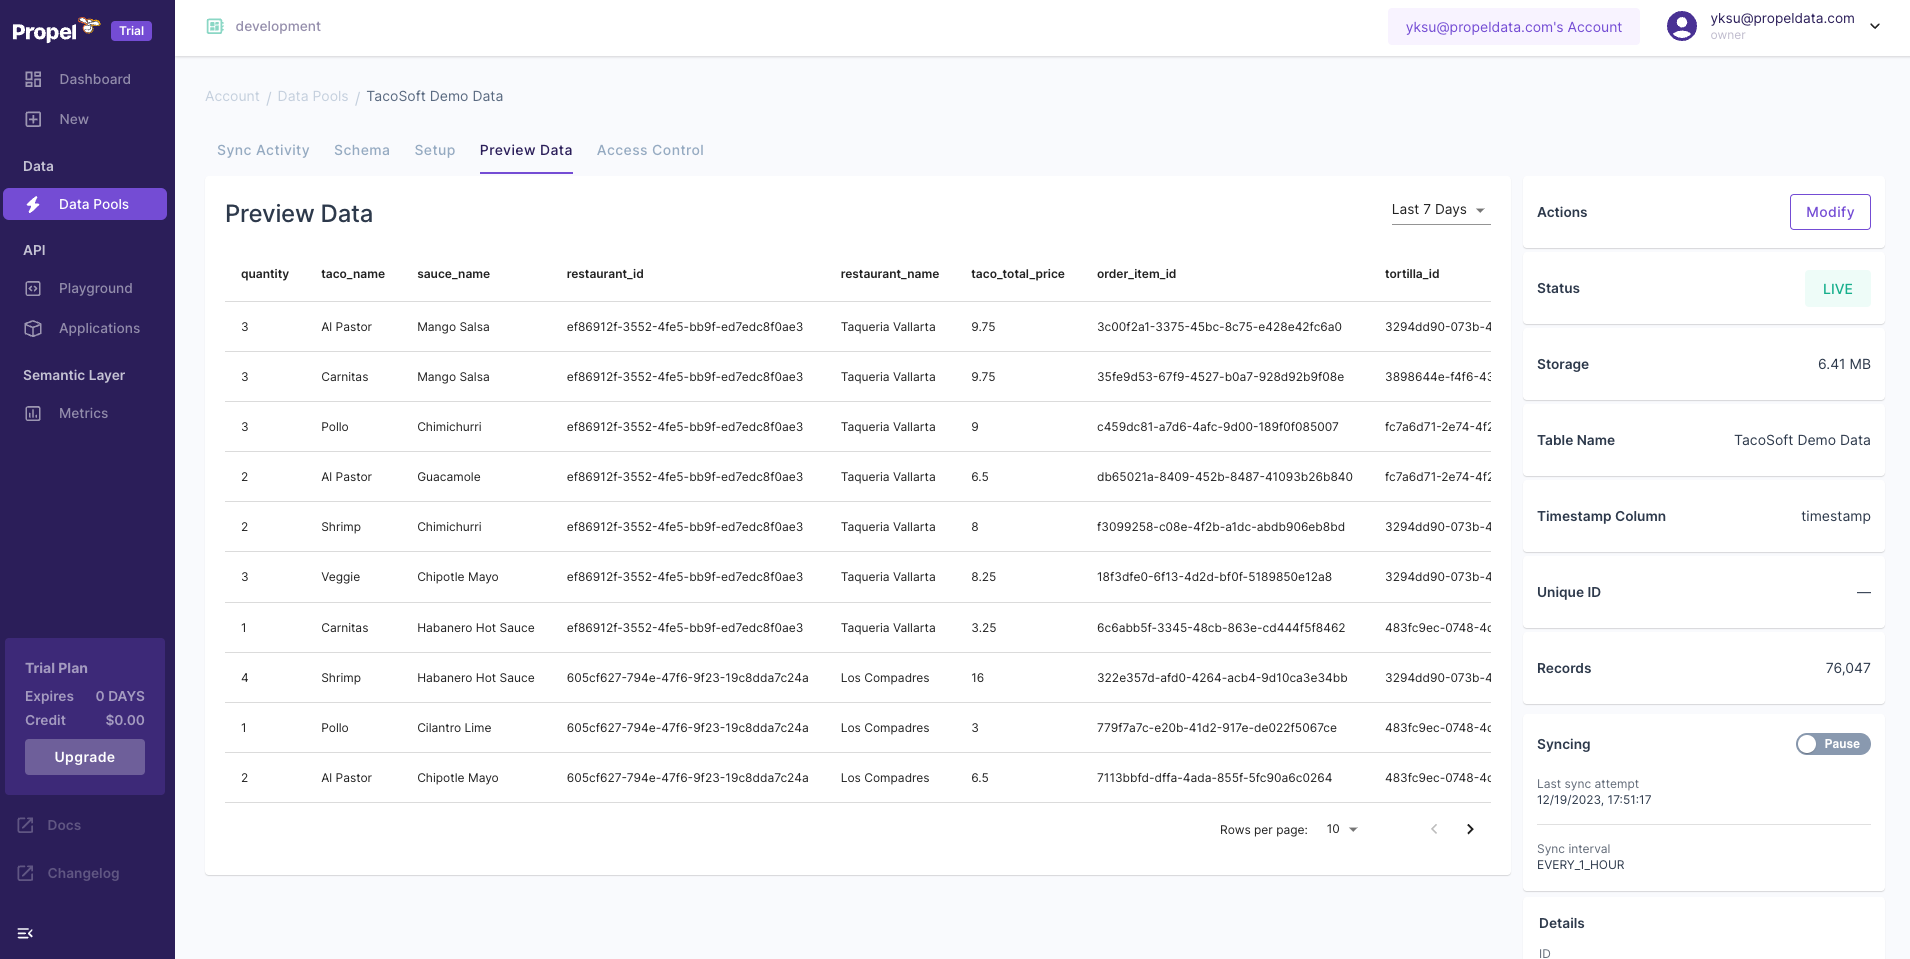 Now that you have a Data Pool with data, let's query it!
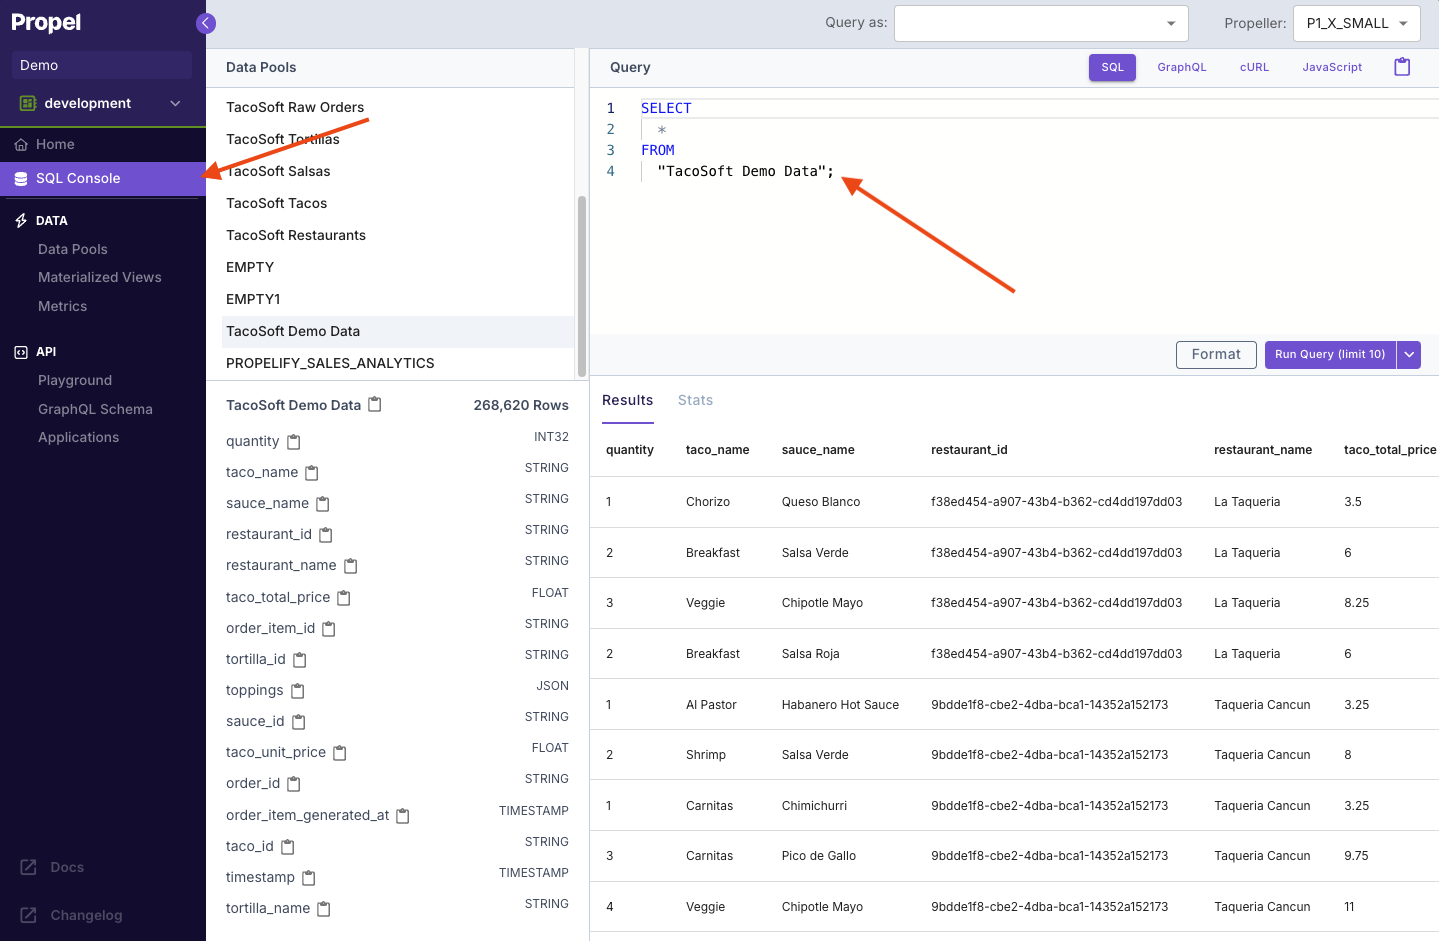
Go to the **"SQL Console"** in the left-hand sidebar.
```sql theme={"system"}
SELECT
*
FROM
"TacoSoft Demo Data";
```
And see the results!
Now that you have a Data Pool with data, let's query it!
Go to the **"SQL Console"** in the left-hand sidebar.
```sql theme={"system"}
SELECT
*
FROM
"TacoSoft Demo Data";
```
And see the results!
 Now that you've queried the data via SQL, let's query the data via the API.
Under the **"API"** section, click on the **"Playground"** in the left-hand sidebar.
The API Playground is a powerful tool for exploring your data and constructing queries. It provides an interactive interface on the left side for building queries, and displays the corresponding GraphQL API request on the right side.
To create your first query, follow these steps:
1. API type: Choose the **"Time Series"** API from the dropdown menu.
2. Data source: Select the **"TacoSoft Demo Data"** Data Pool.
3. Metric: Pick the **"COUNT"** Metric to count the number of records.
4. Execute: Click the **"Run Query"** button to execute your query.
As you make selections, observe how the GraphQL query on the right side updates in real-time. This helps you understand how to structure API requests for your application.
Now that you've queried the data via SQL, let's query the data via the API.
Under the **"API"** section, click on the **"Playground"** in the left-hand sidebar.
The API Playground is a powerful tool for exploring your data and constructing queries. It provides an interactive interface on the left side for building queries, and displays the corresponding GraphQL API request on the right side.
To create your first query, follow these steps:
1. API type: Choose the **"Time Series"** API from the dropdown menu.
2. Data source: Select the **"TacoSoft Demo Data"** Data Pool.
3. Metric: Pick the **"COUNT"** Metric to count the number of records.
4. Execute: Click the **"Run Query"** button to execute your query.
As you make selections, observe how the GraphQL query on the right side updates in real-time. This helps you understand how to structure API requests for your application.
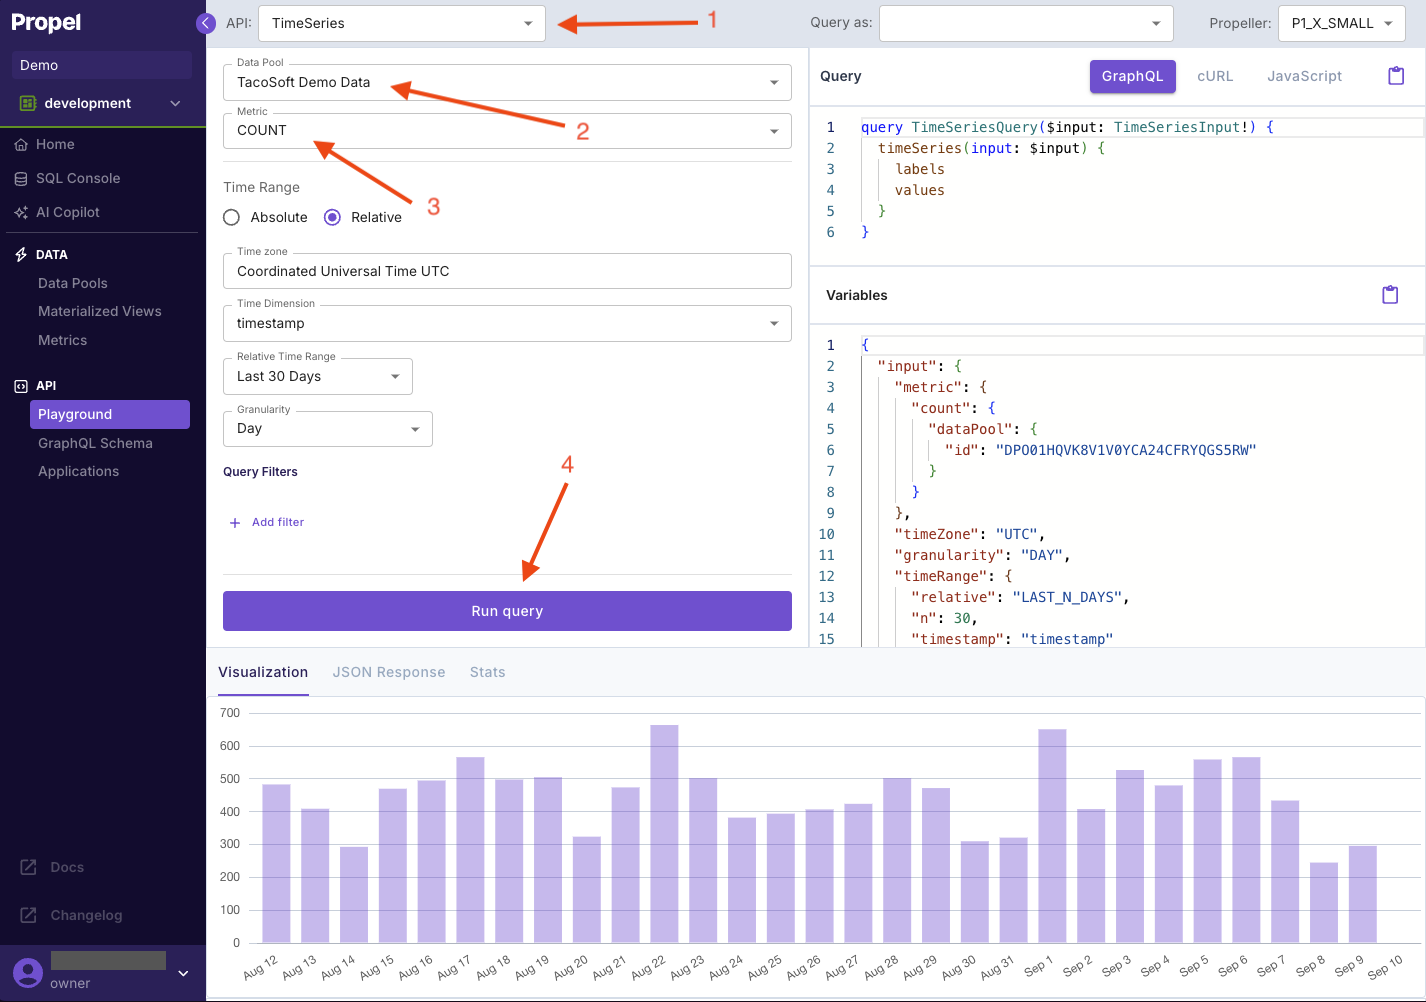 This query will return the total number of order items over time.
🎉🍾🎈 You've made your first query!
Next, we'll want to make queries from a Next.js application.
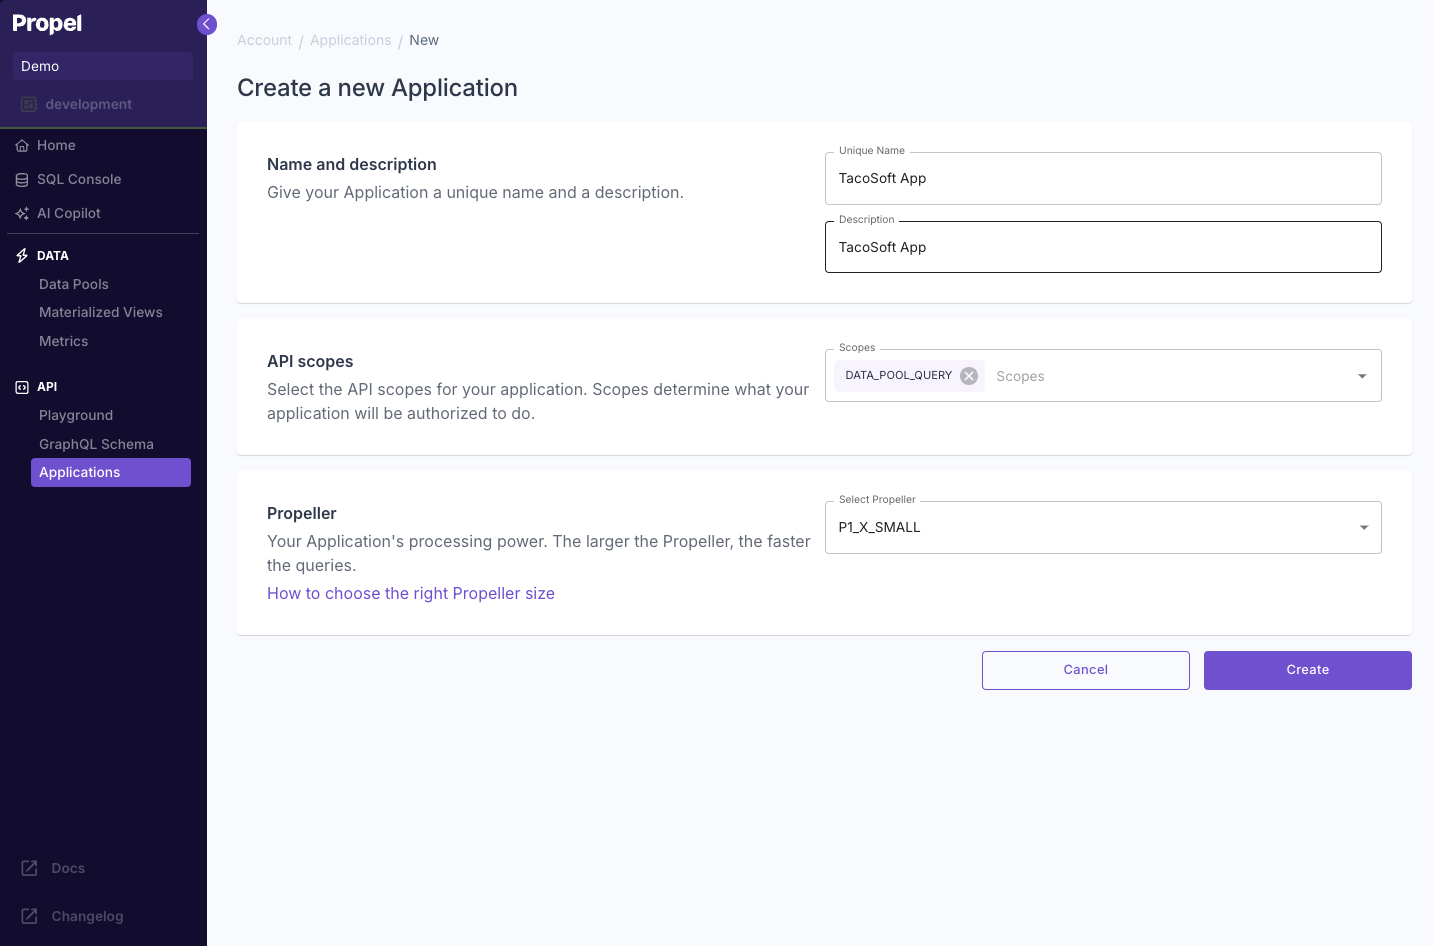
To get your API credentials, you'll need to create a Propel Application.
Go to the **"Applications"** section and click **"Create Application"**. Enter the following information:
* Give your Application a unique name: “TacoSoft App”
* Give your Application a description: “TacoSoft App”
* For the [API scopes](/docs/applications#scopes), you'll want your Propel Application to have the “DATA\_POOL\_QUERY” scope.
* The Propeller determines how fast the queries made with this Application are. For our Quickstart, you can select `P1_X1_SMALL`.
* Click **"Create"**
This query will return the total number of order items over time.
🎉🍾🎈 You've made your first query!
Next, we'll want to make queries from a Next.js application.
To get your API credentials, you'll need to create a Propel Application.
Go to the **"Applications"** section and click **"Create Application"**. Enter the following information:
* Give your Application a unique name: “TacoSoft App”
* Give your Application a description: “TacoSoft App”
* For the [API scopes](/docs/applications#scopes), you'll want your Propel Application to have the “DATA\_POOL\_QUERY” scope.
* The Propeller determines how fast the queries made with this Application are. For our Quickstart, you can select `P1_X1_SMALL`.
* Click **"Create"**
 The Propel Next.js Starter App is a project bootstrapped with create-next-app, integrated with Propel's Embeddable UI Kit to create a sample dashboard.
First, clone [the repo](https://github.com/propeldata/propel-nextjs-starter-app-v2) for the Propel Next.js Starter App:
```bash theme={"system"}
git clone https://github.com/propeldata/propel-nextjs-starter-app-v2.git
```
or
```bash theme={"system"}
gh repo clone propeldata/propel-nextjs-starter-app-v2
```
Once you've cloned the repo, `cd` into its directory:
```bash theme={"system"}
cd propel-nextjs-starter-app-v2
```
You'll need to set your Propel Application's client ID and secret in a `.env.local` file. To do this, first make a copy of the `.env.sample` included in the app's root directory:
```bash theme={"system"}
cp .env.local.sample .env.local
```
Then, update the `.env.local` file to include your Propel Application's client ID and secret:
```bash theme={"system"}
CLIENT_ID=1jb…
CLIENT_SECRET=1og…
```
Install dependencies:
```bash theme={"system"}
npm install
```
Now you are good to run the app locally!
```bash theme={"system"}
npm run dev
```
Now, if you visit [http://localhost:3000](http://localhost:3000), you'll see your app running.
The Propel Next.js Starter App is a project bootstrapped with create-next-app, integrated with Propel's Embeddable UI Kit to create a sample dashboard.
First, clone [the repo](https://github.com/propeldata/propel-nextjs-starter-app-v2) for the Propel Next.js Starter App:
```bash theme={"system"}
git clone https://github.com/propeldata/propel-nextjs-starter-app-v2.git
```
or
```bash theme={"system"}
gh repo clone propeldata/propel-nextjs-starter-app-v2
```
Once you've cloned the repo, `cd` into its directory:
```bash theme={"system"}
cd propel-nextjs-starter-app-v2
```
You'll need to set your Propel Application's client ID and secret in a `.env.local` file. To do this, first make a copy of the `.env.sample` included in the app's root directory:
```bash theme={"system"}
cp .env.local.sample .env.local
```
Then, update the `.env.local` file to include your Propel Application's client ID and secret:
```bash theme={"system"}
CLIENT_ID=1jb…
CLIENT_SECRET=1og…
```
Install dependencies:
```bash theme={"system"}
npm install
```
Now you are good to run the app locally!
```bash theme={"system"}
npm run dev
```
Now, if you visit [http://localhost:3000](http://localhost:3000), you'll see your app running.
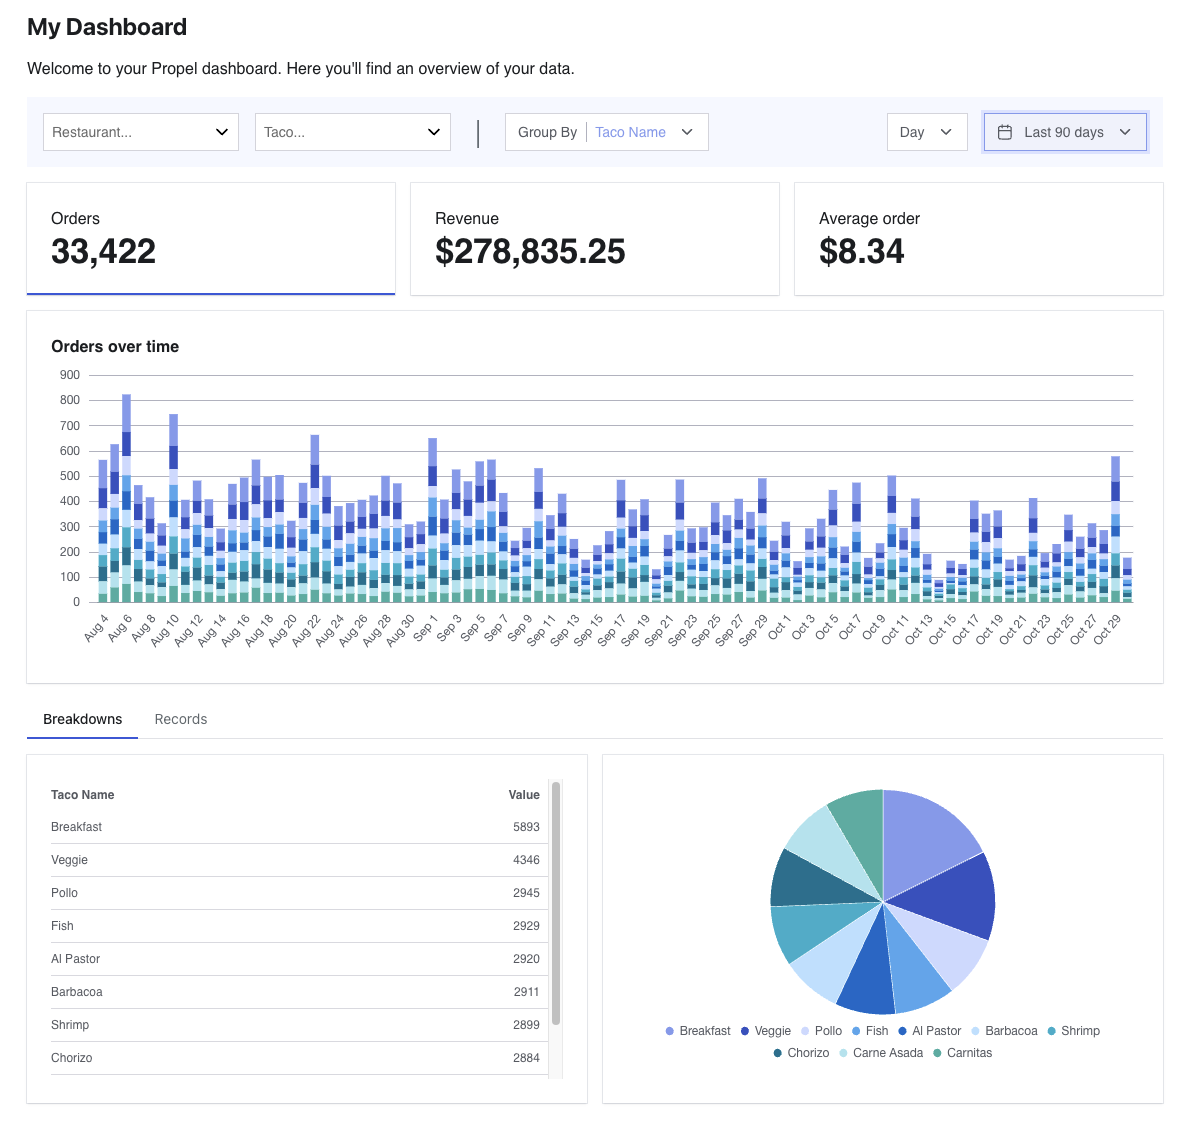 Now you have a working Next.js app serving data from Propel 🎉!